After creating a project, you can share project-related information (such as project details, photos, and documents) by assigning members to the project.
Only project admins can add members to a project.
Within a project, there are two roles: Project Admin and General.
Project Admin: Has permissions to edit, delete, and manage all aspects of the project.
General Member: Can perform basic operations within the project, such as reporting, chatting, and viewing/uploading photos and documents.
For more details about permissions, please refer here.
Add from the App
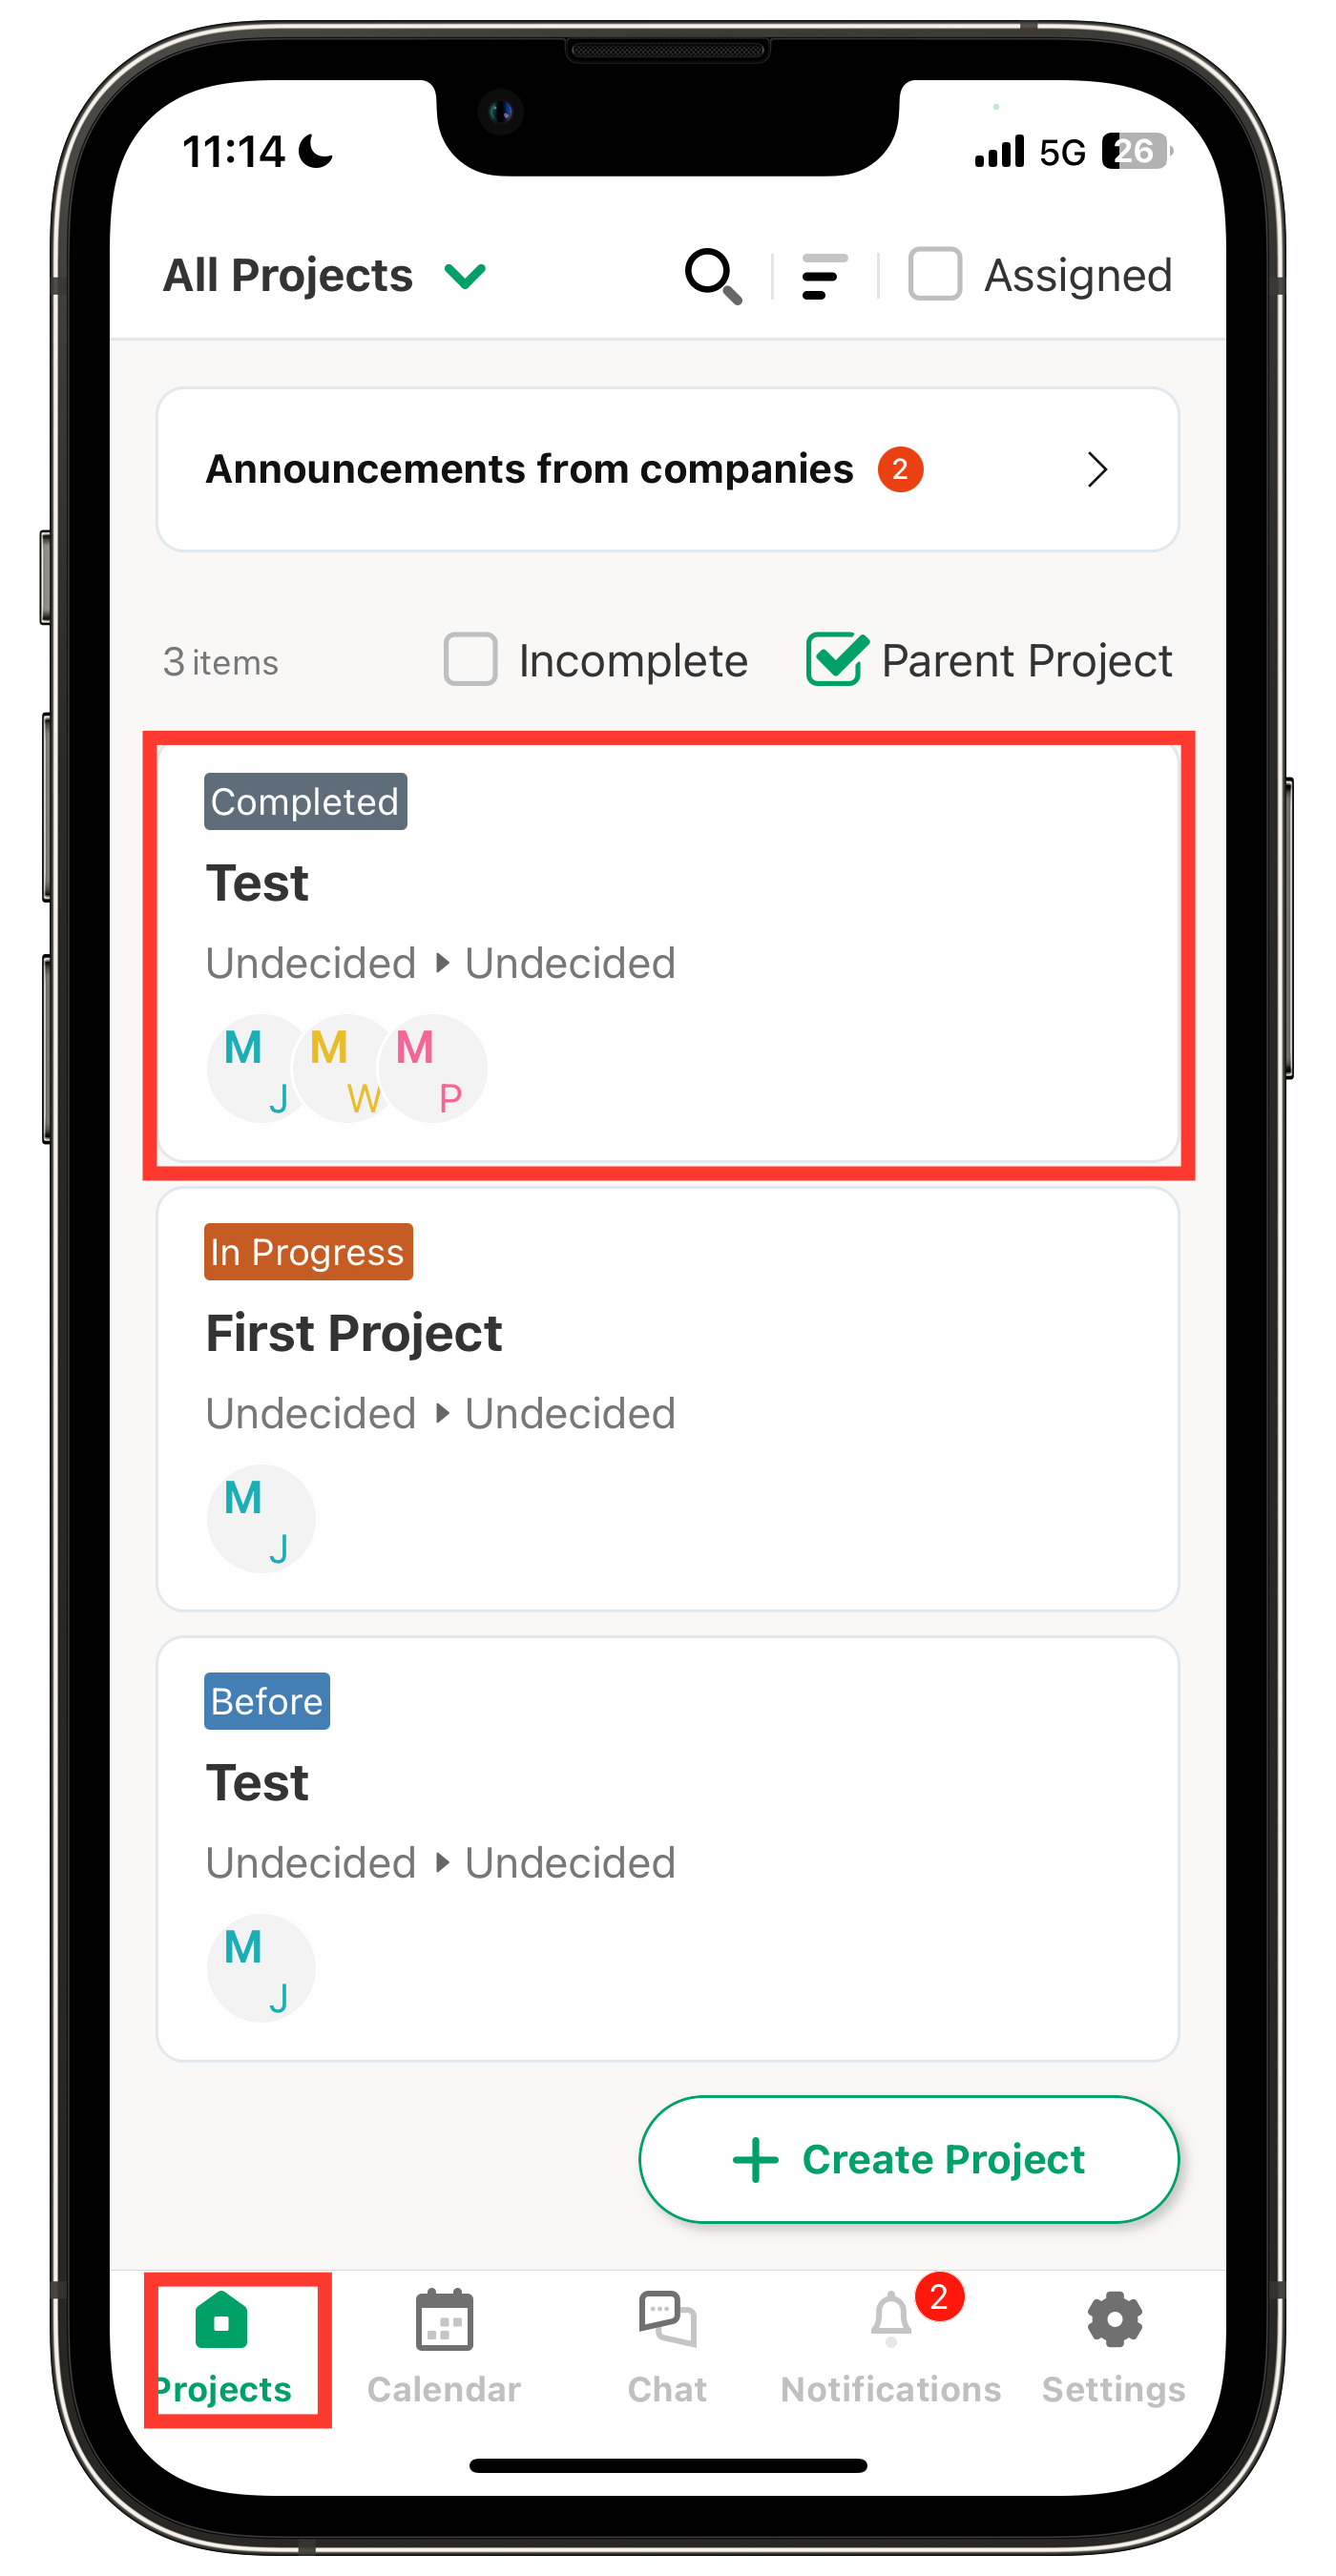
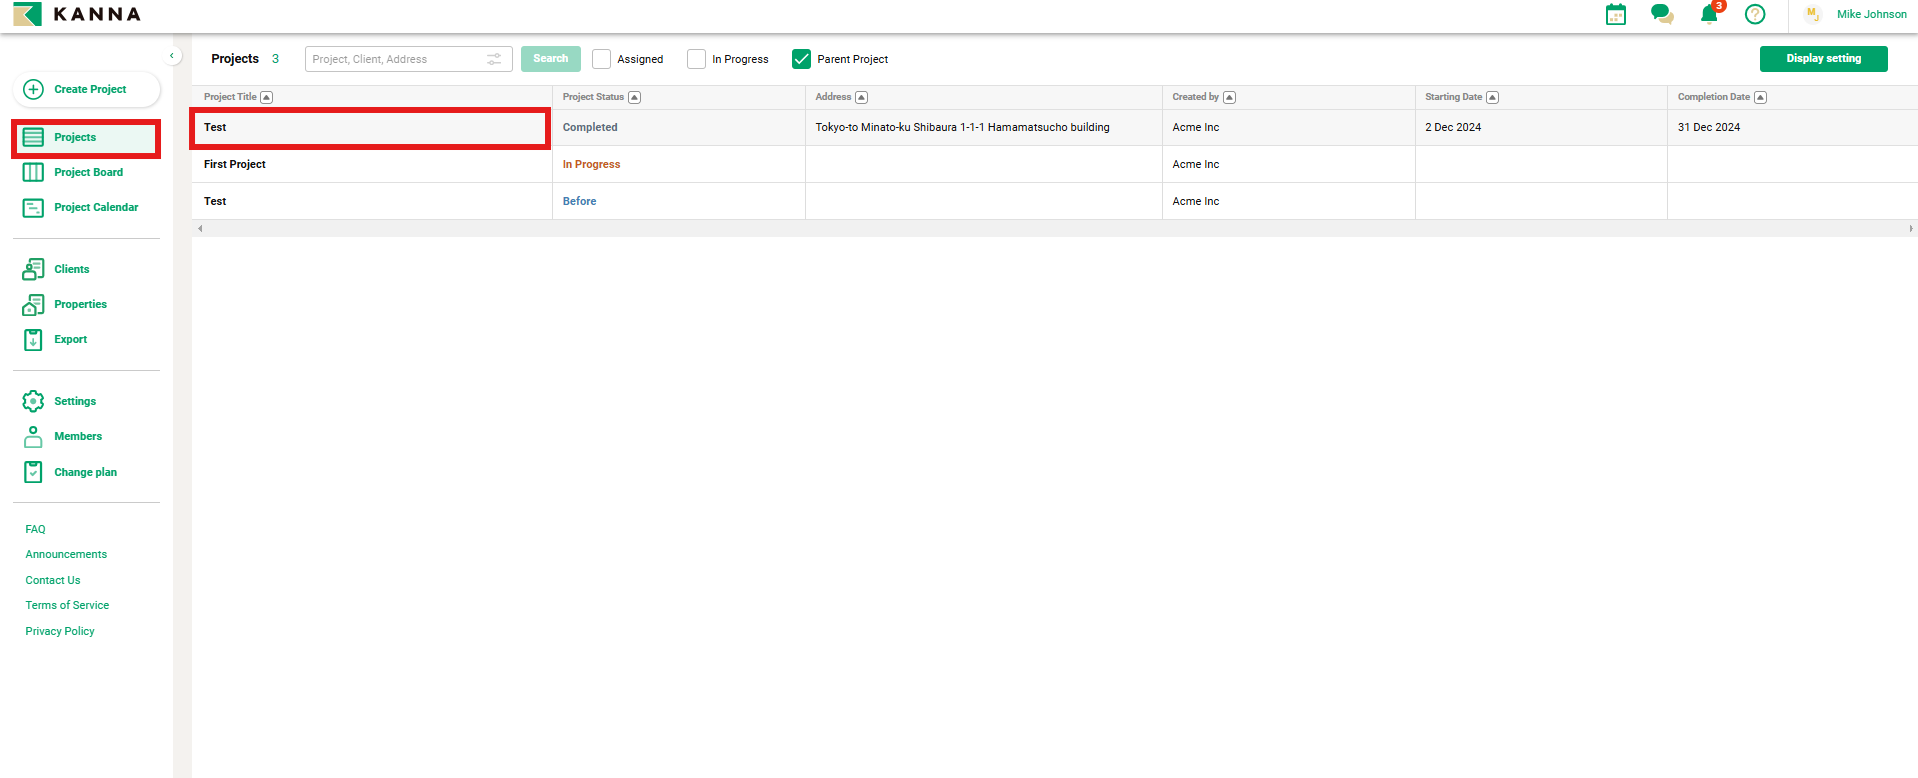
1. Tap the project where you want to add members from the Projects menu.
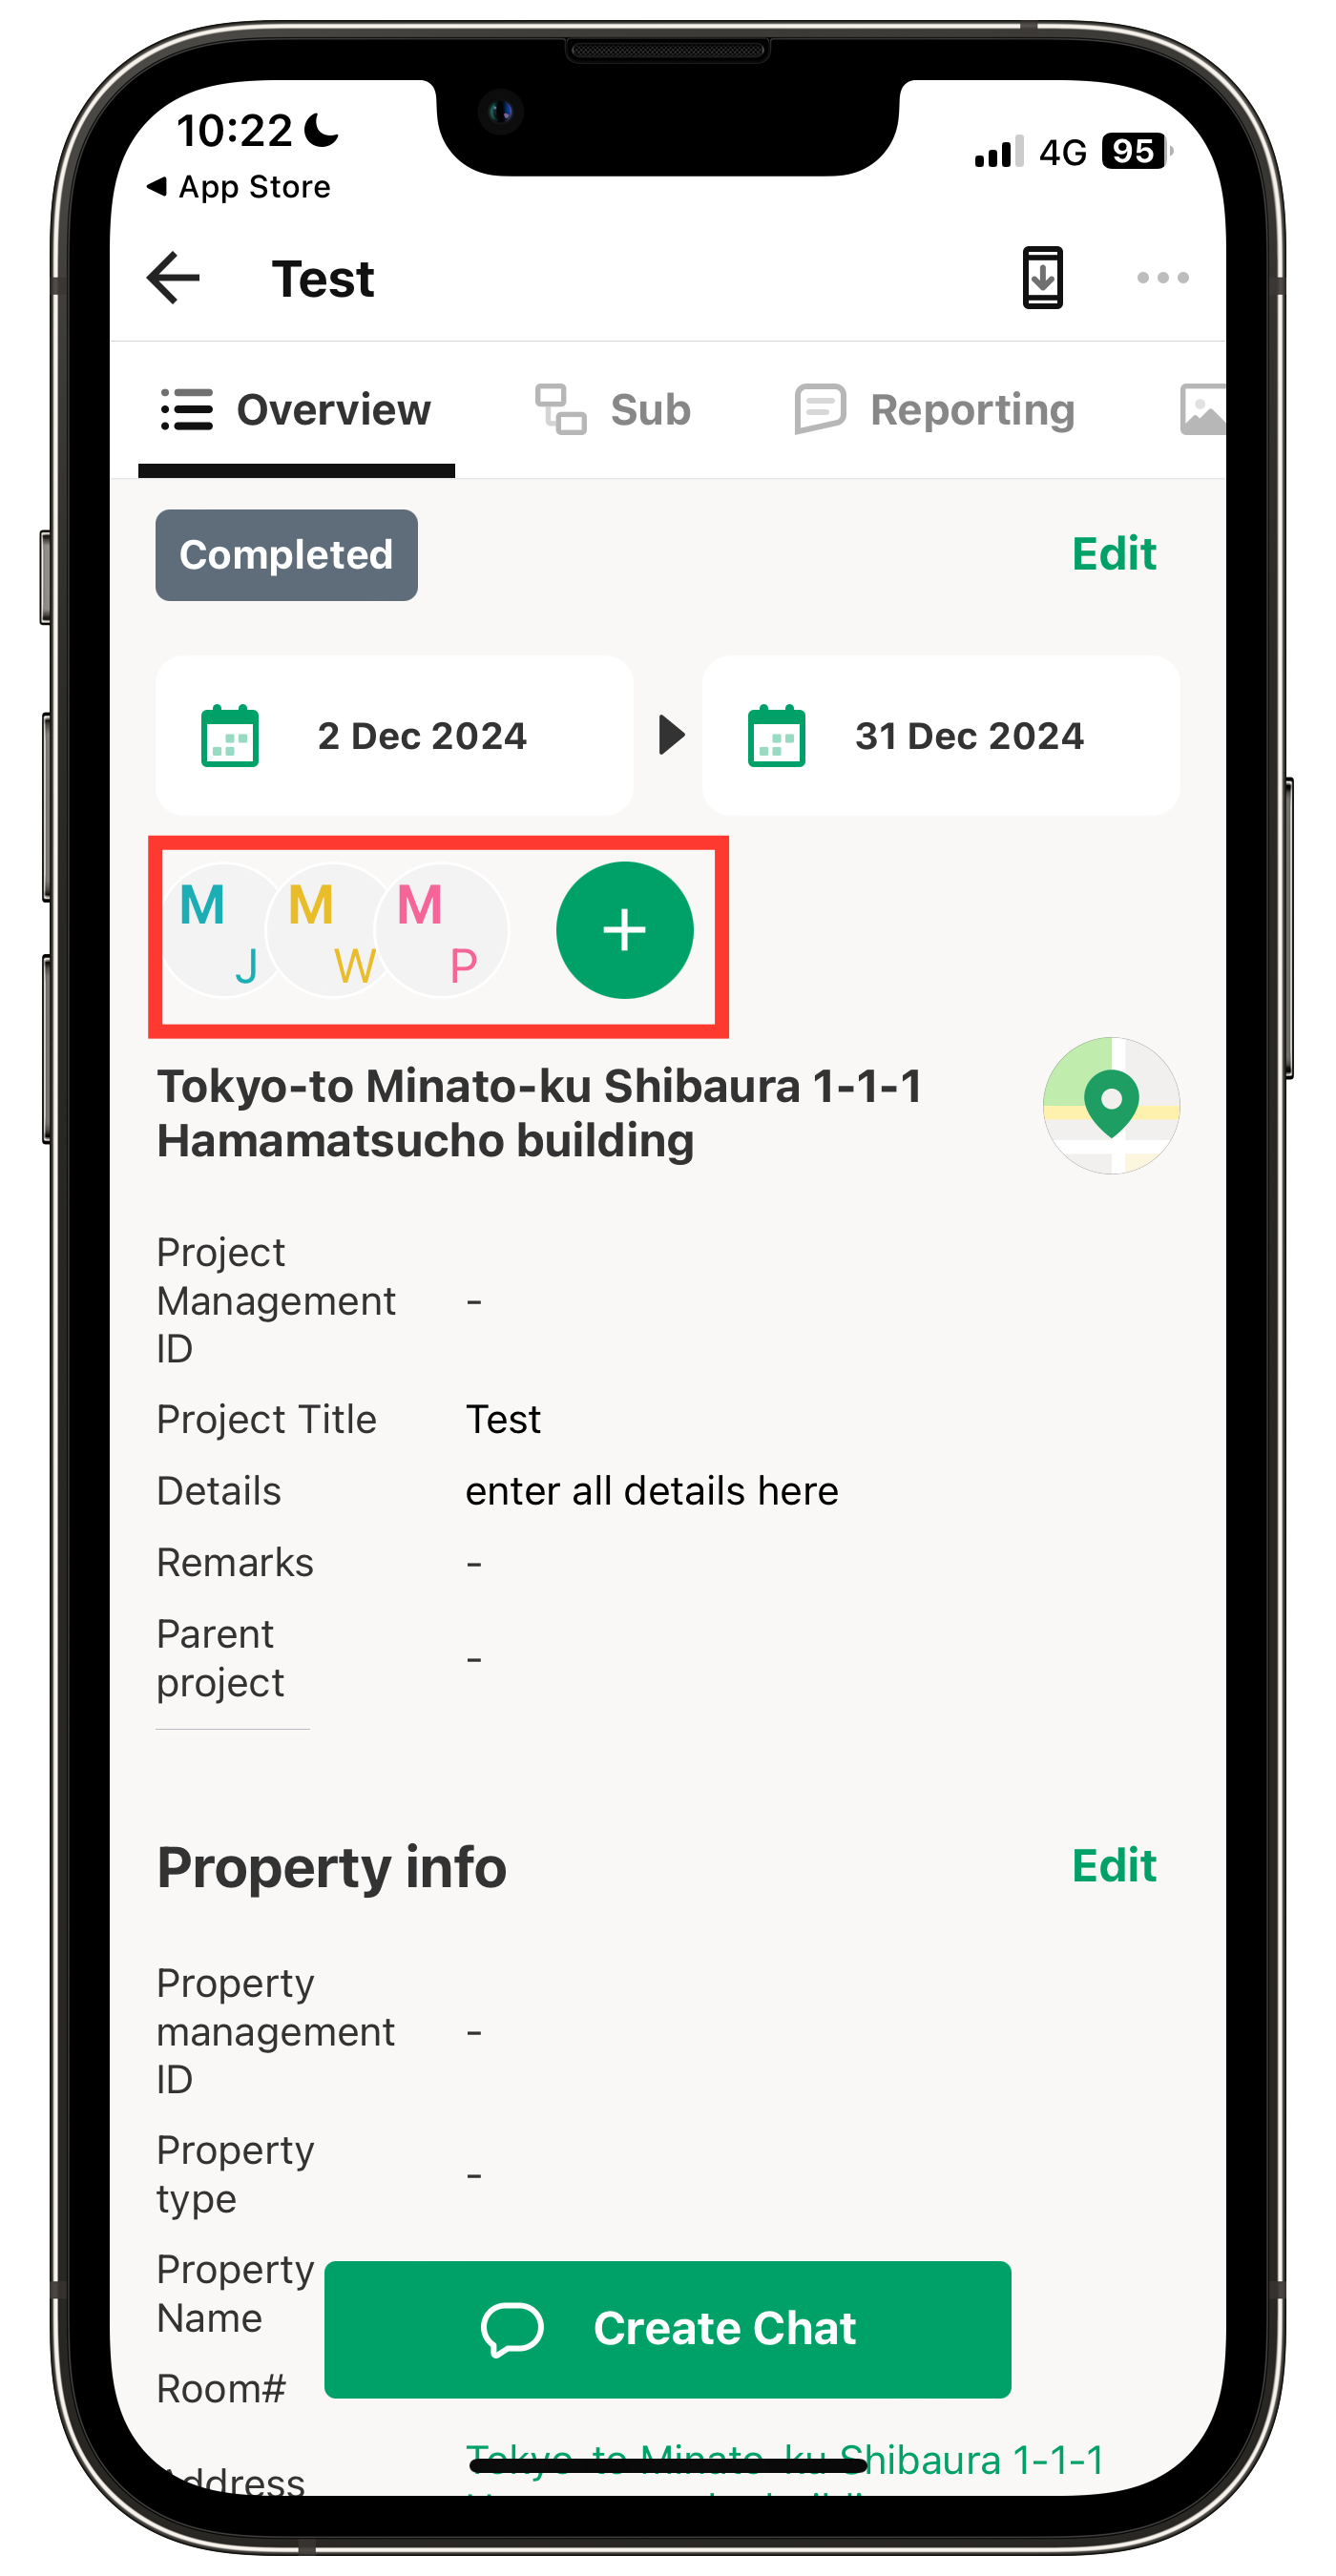
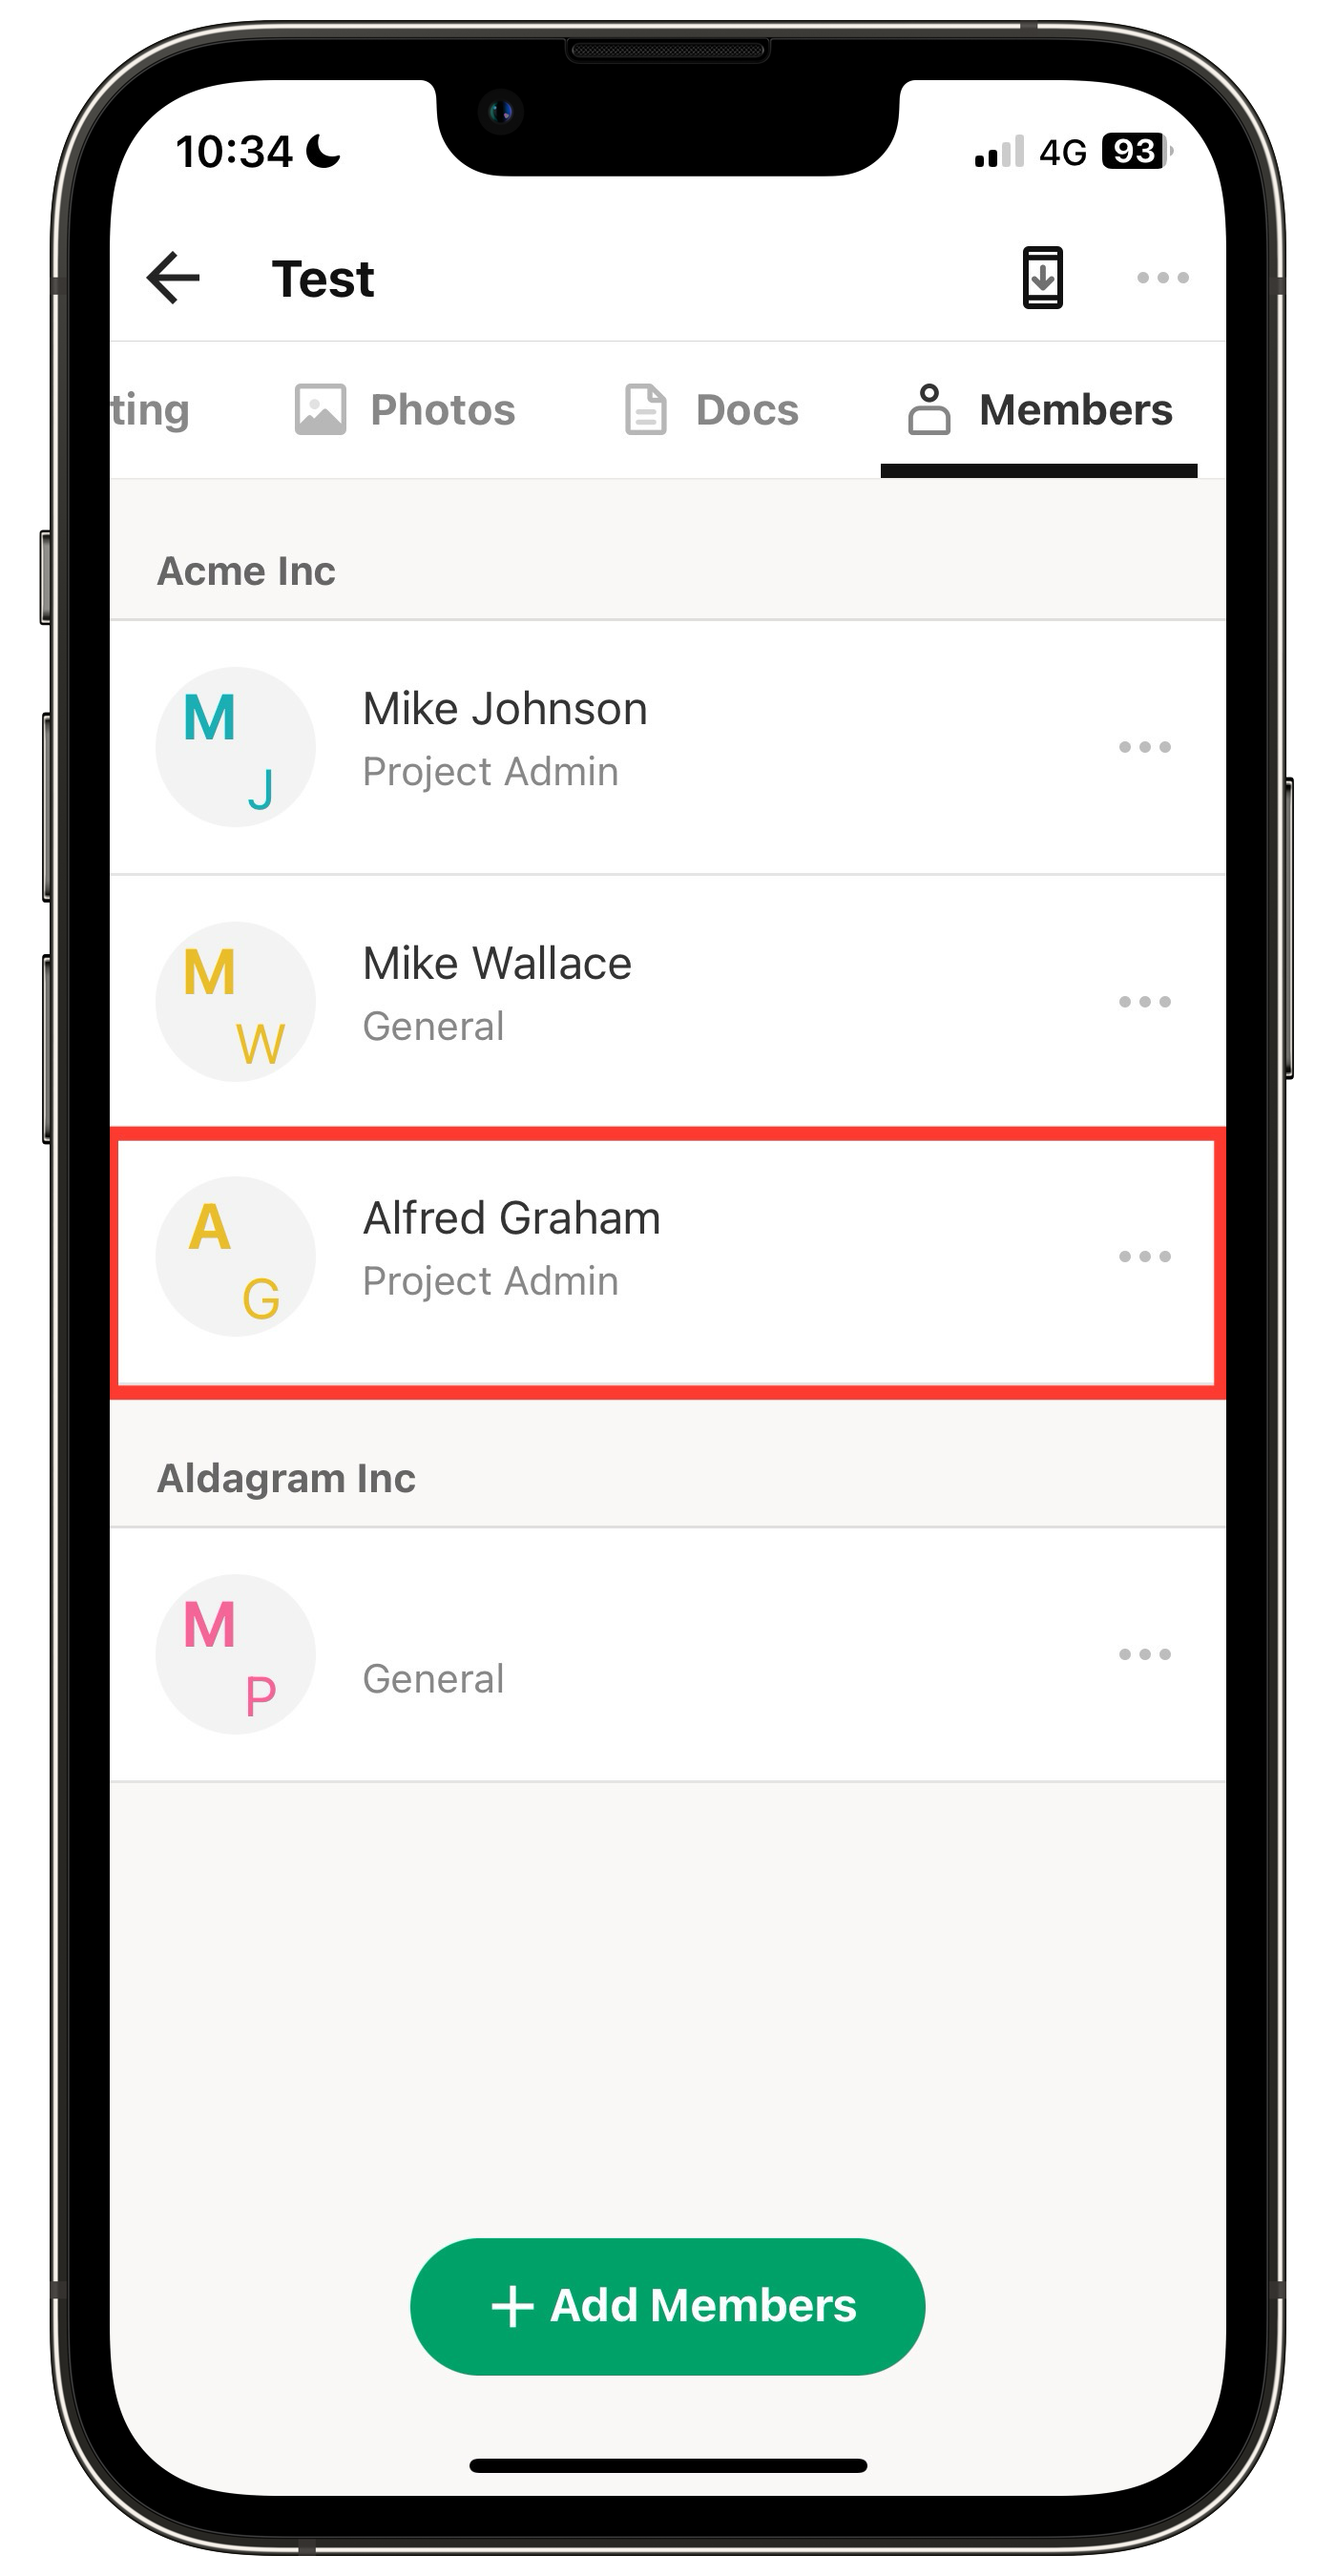
2. Tap the + icon at the top left of the screen, or tap Members on the right end of the top banner.
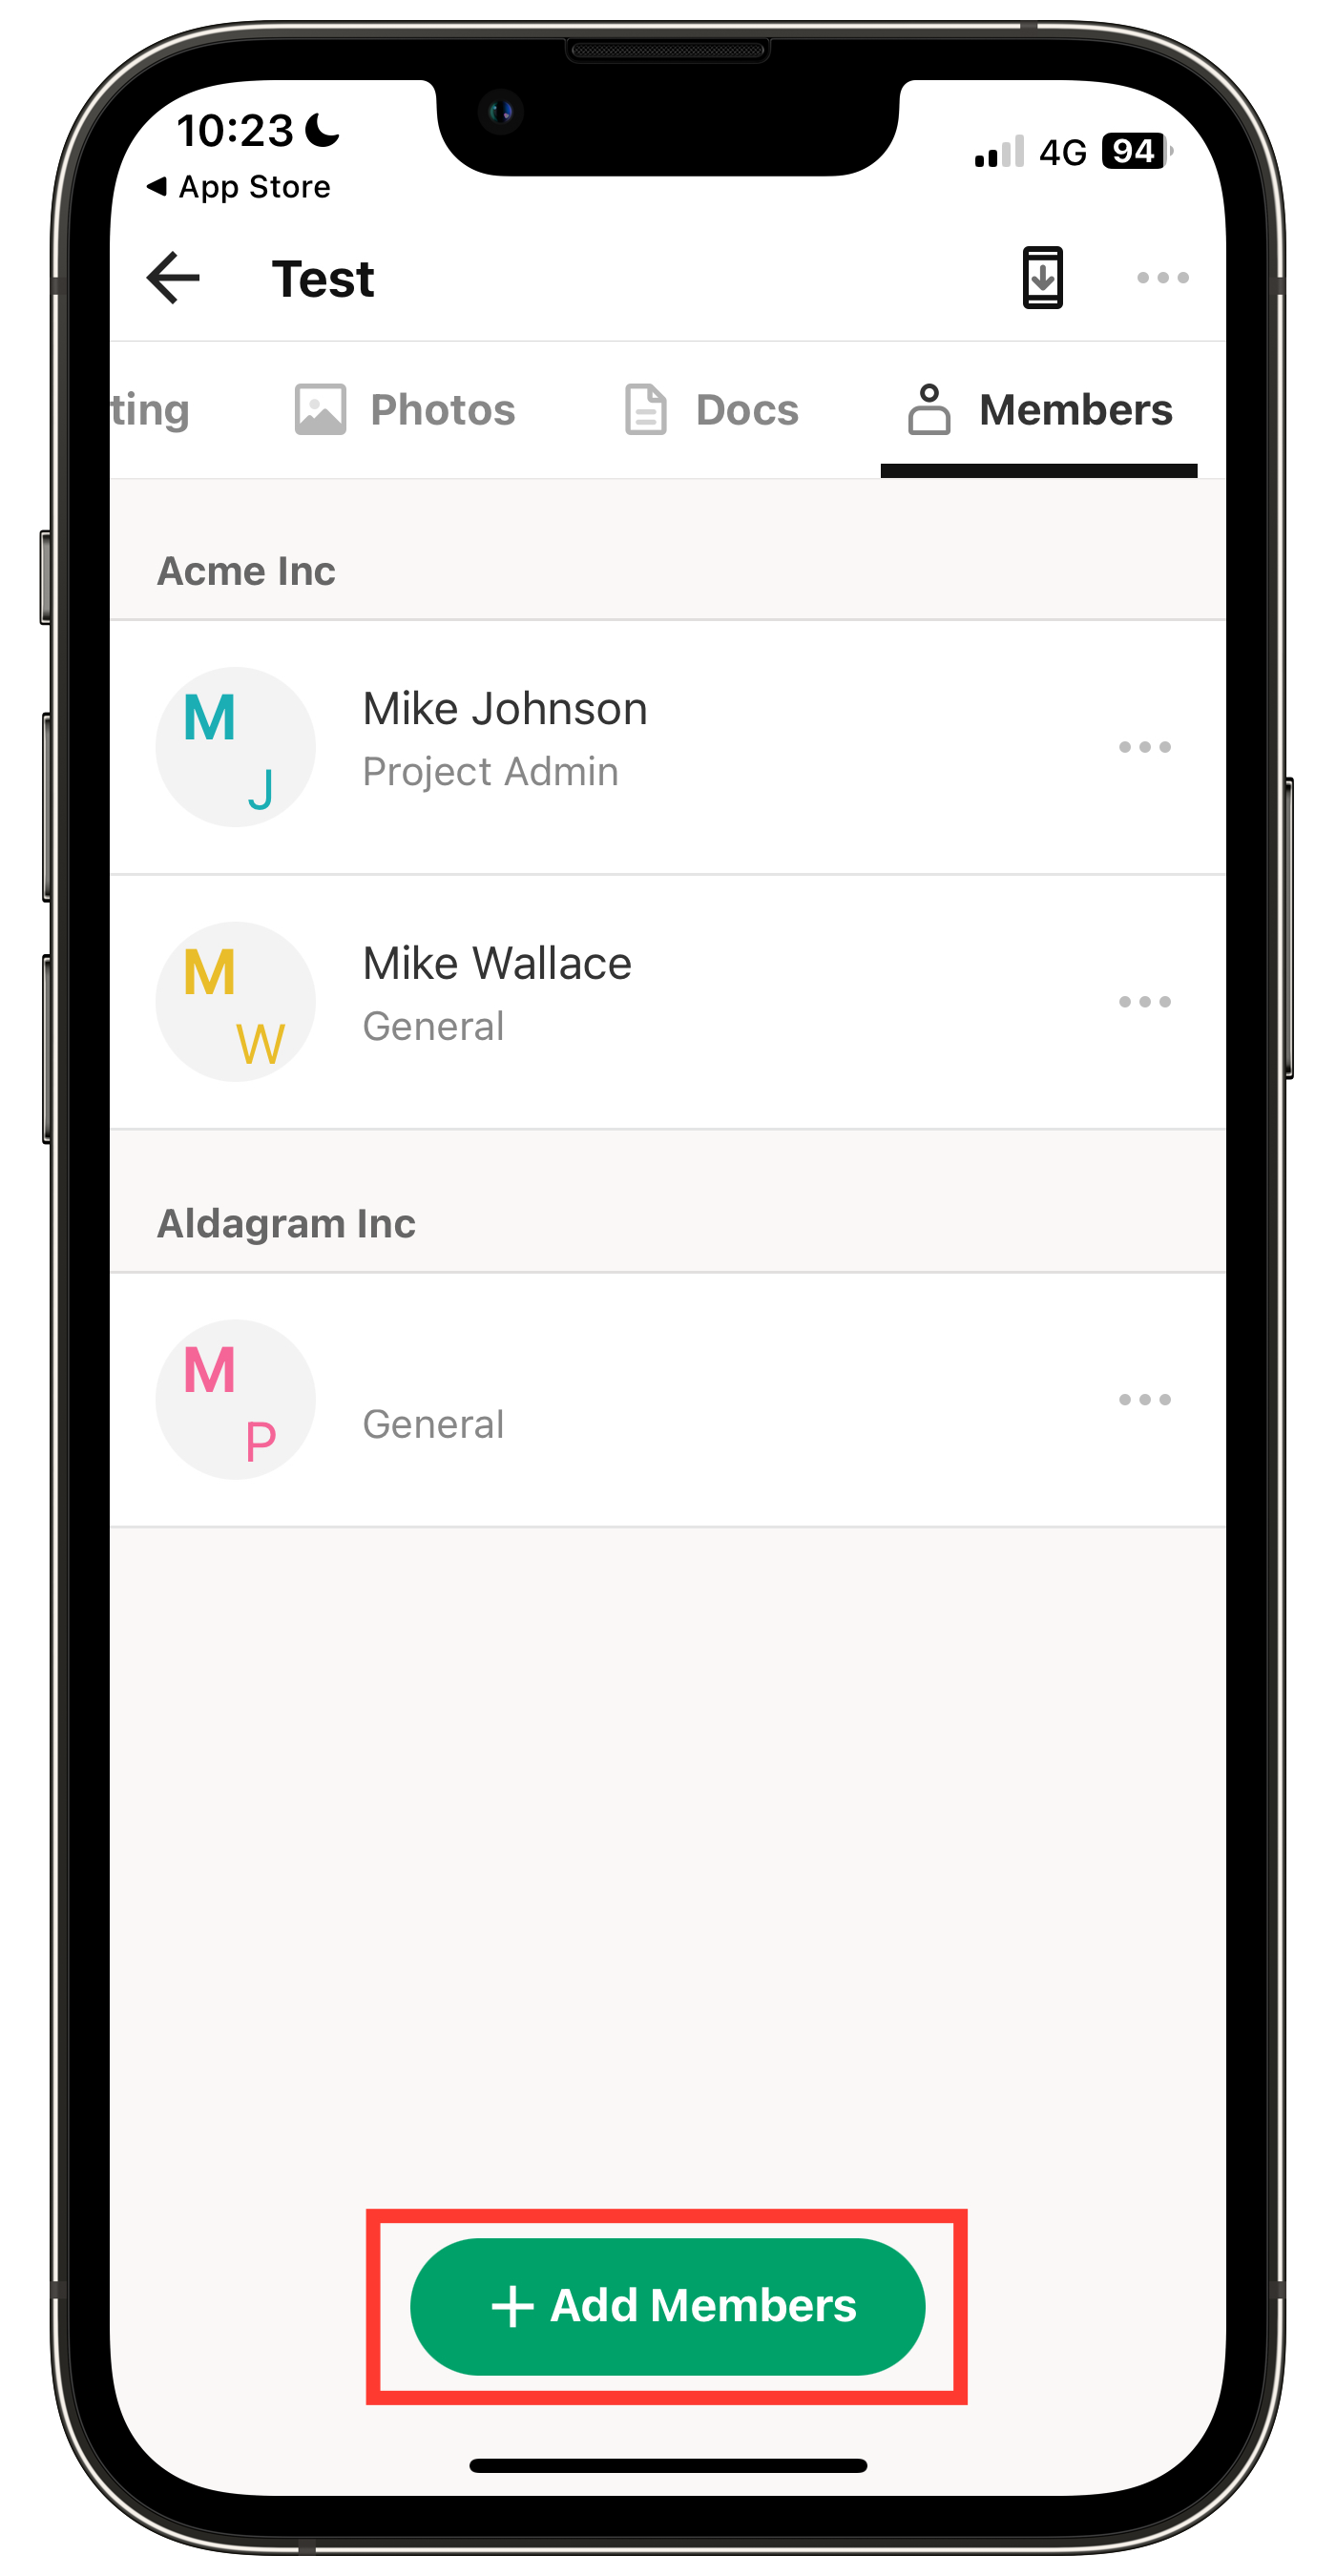
3. Tap + Add Members at the bottom.
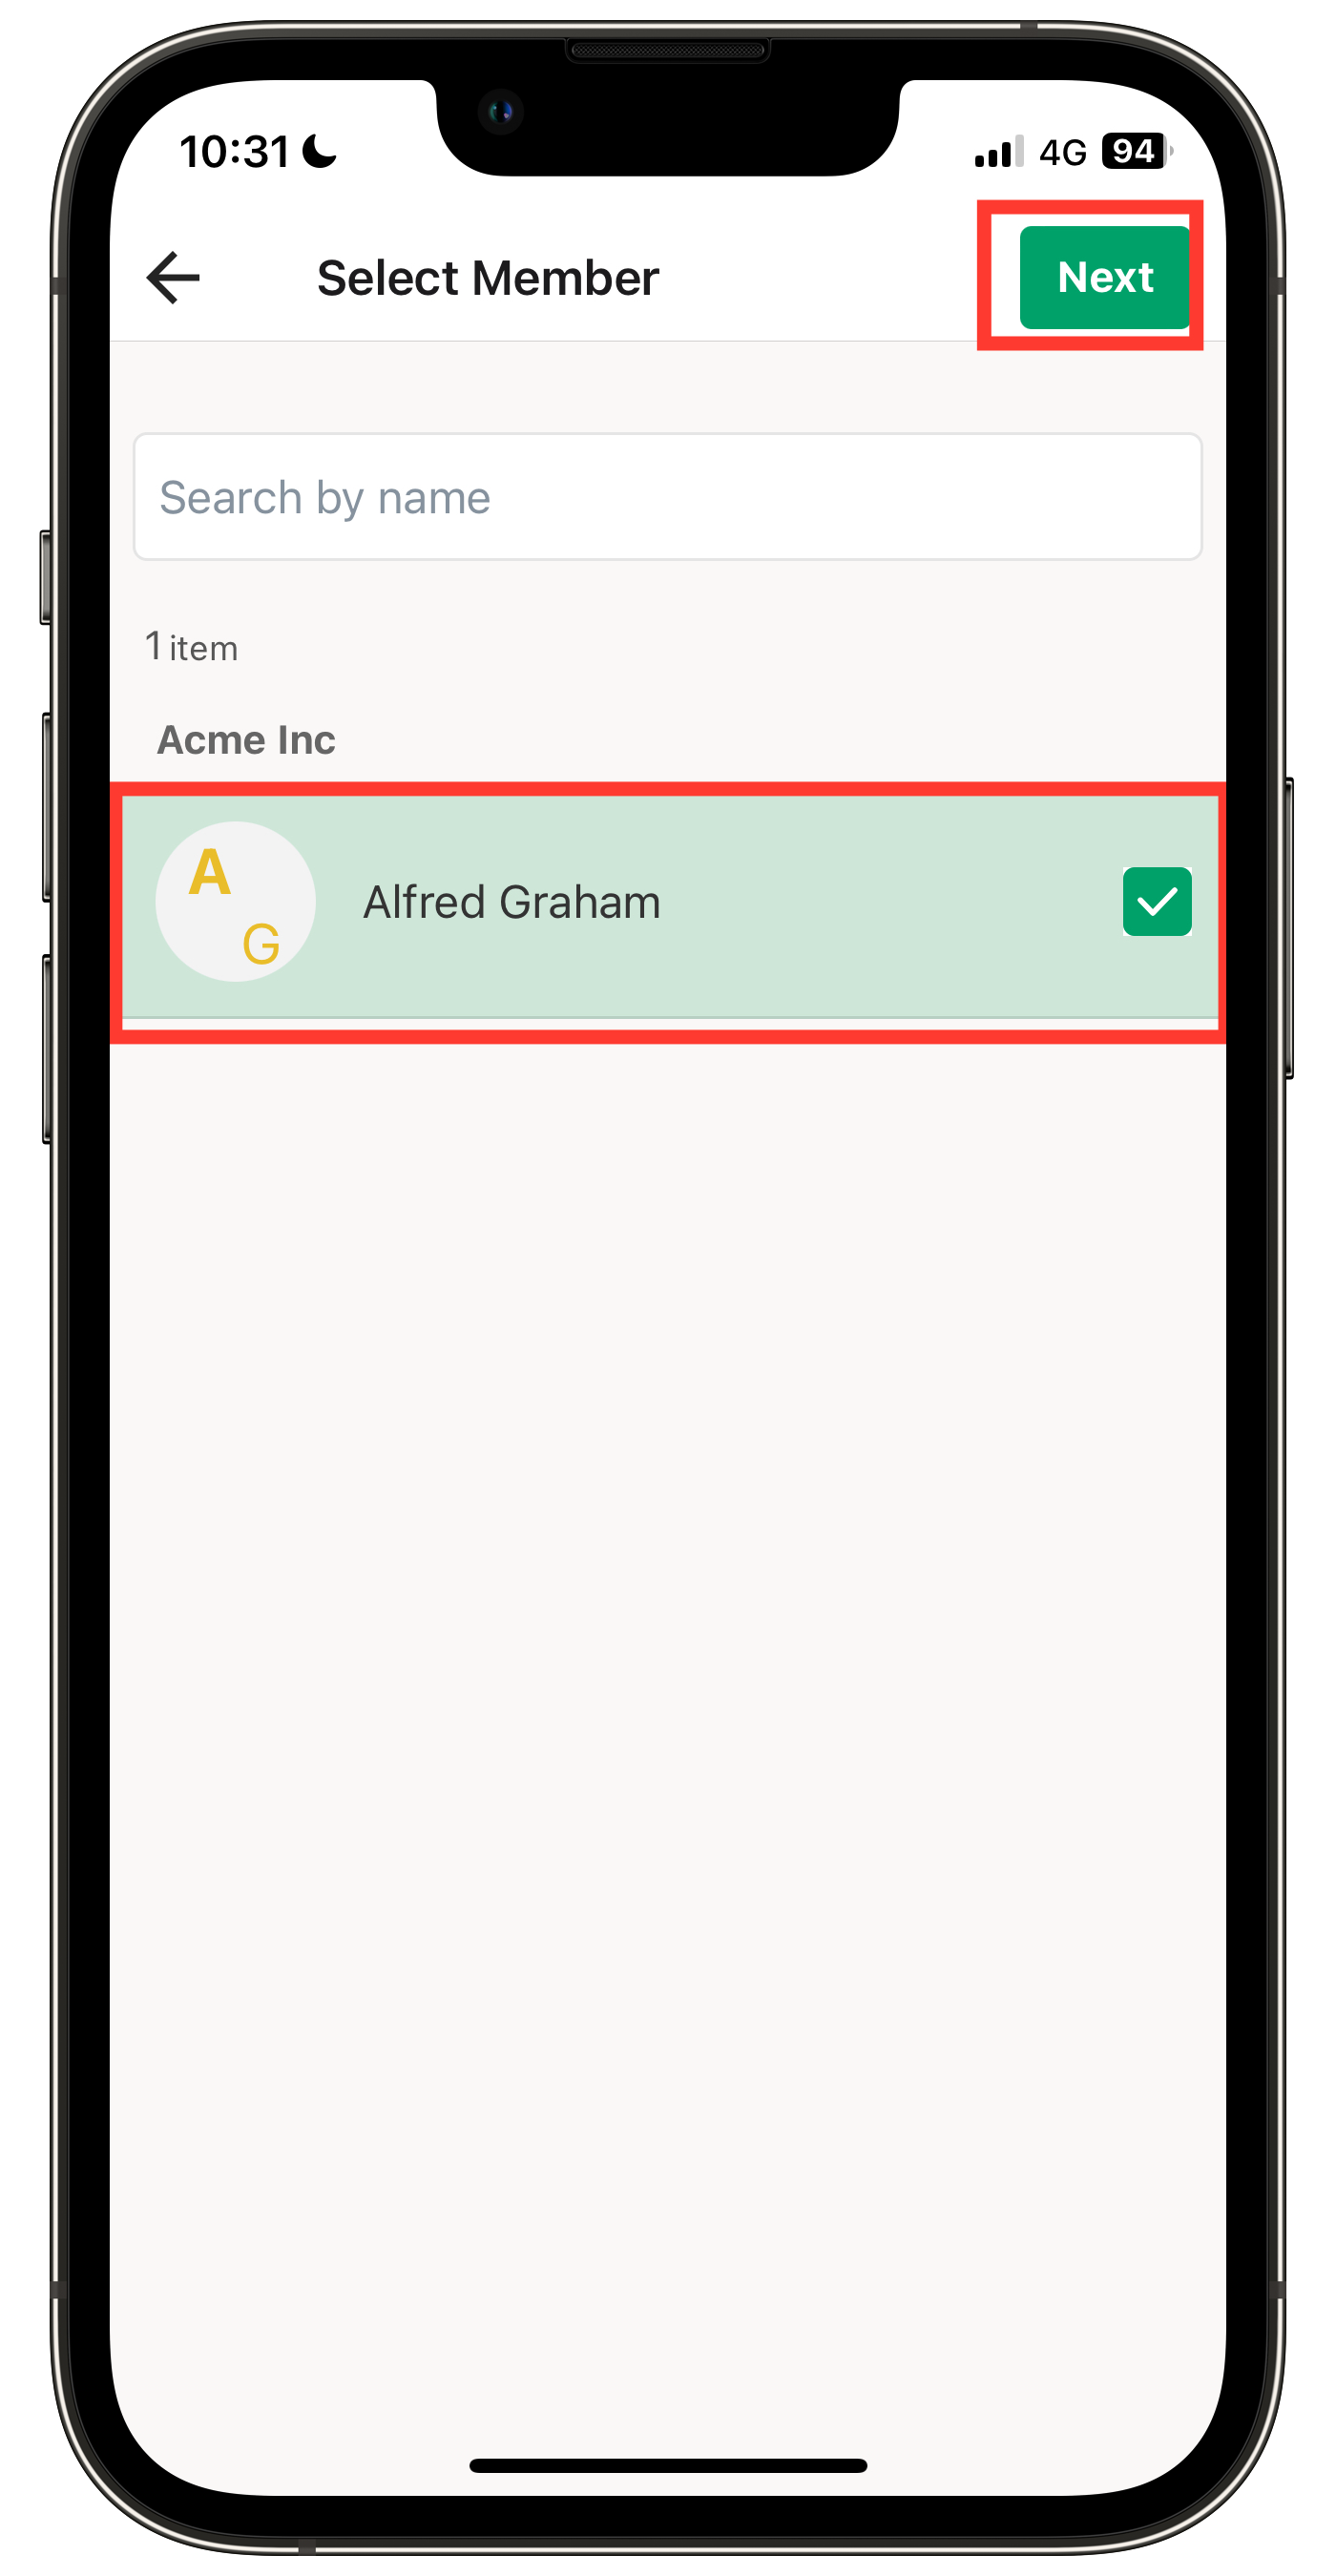
4. Select the member you want to add and tap Next.
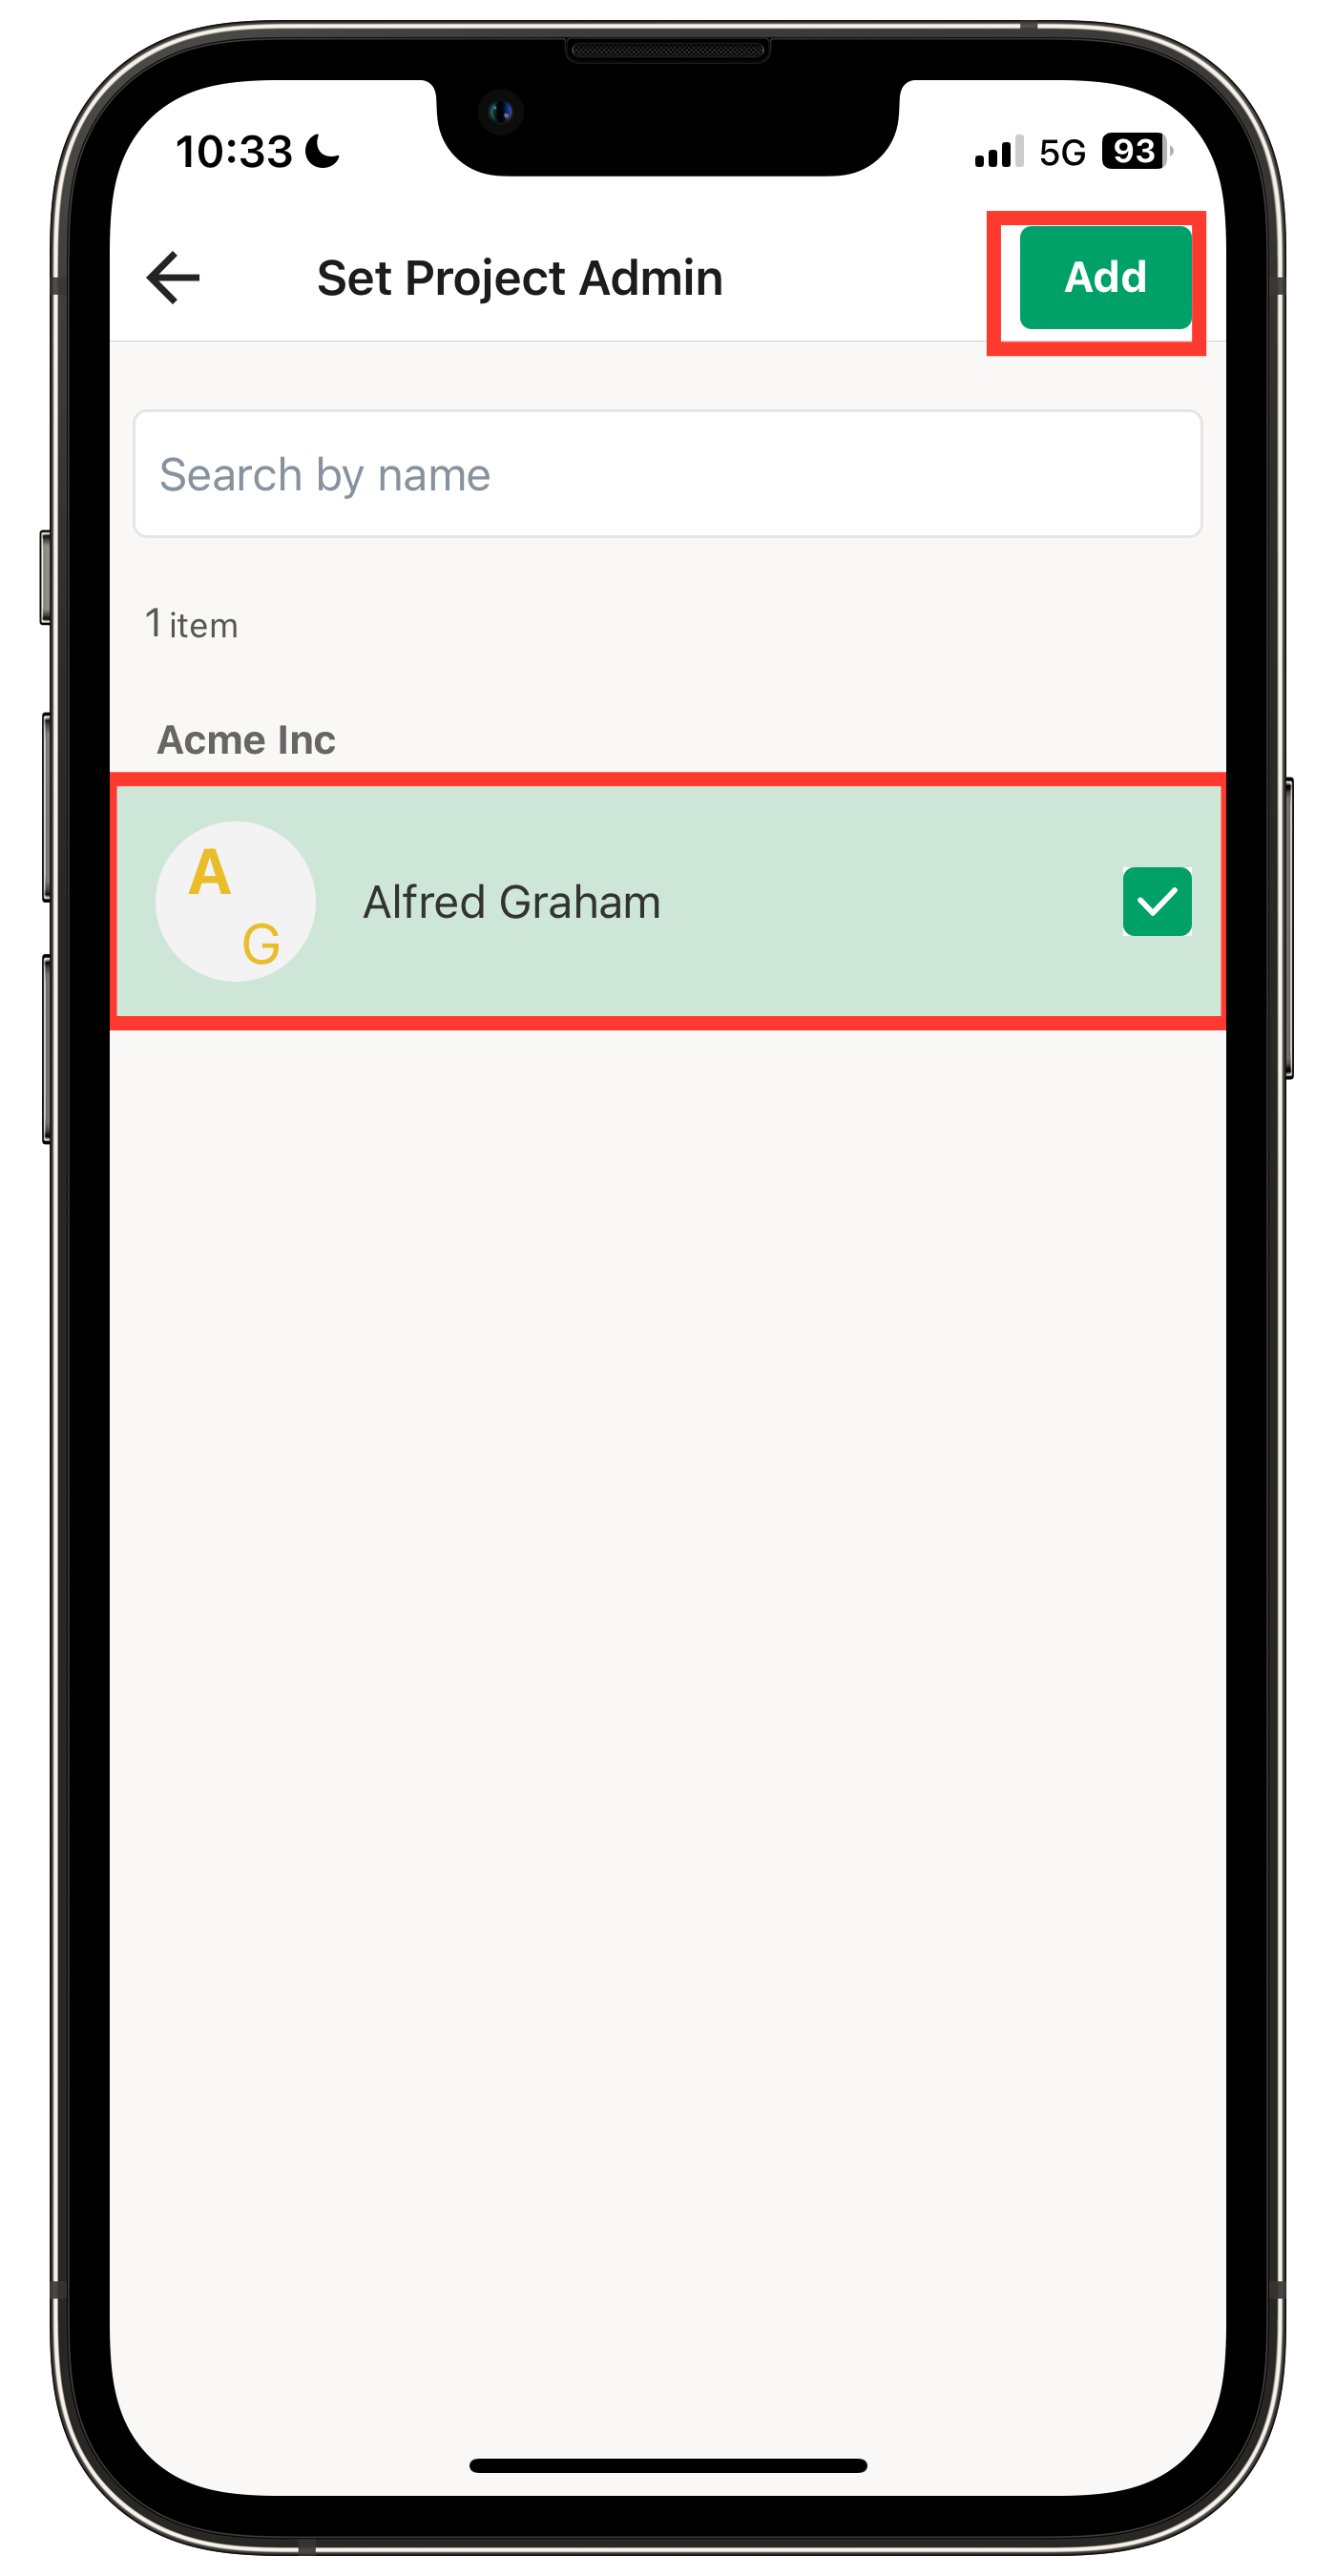
5. Select the member you want to assign as the Project Admin, then tap Add at the top.
Note: If no selection is made, the member will be added as a General Member by default.
6. Member addition is complete.
Add from the Computer
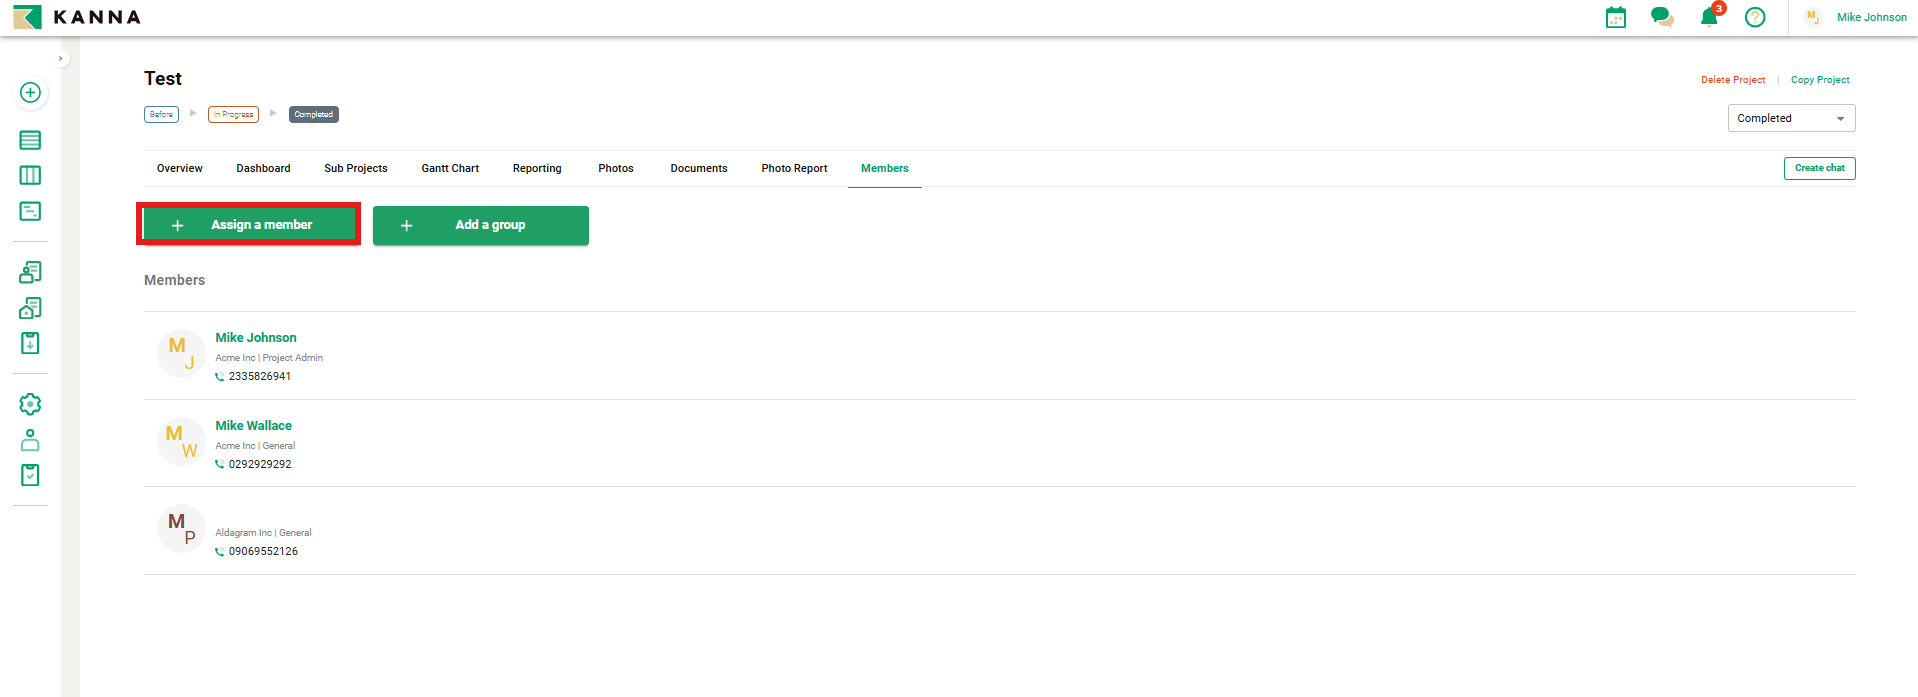
1. From the Projects menu, click on the project where you want to add members.
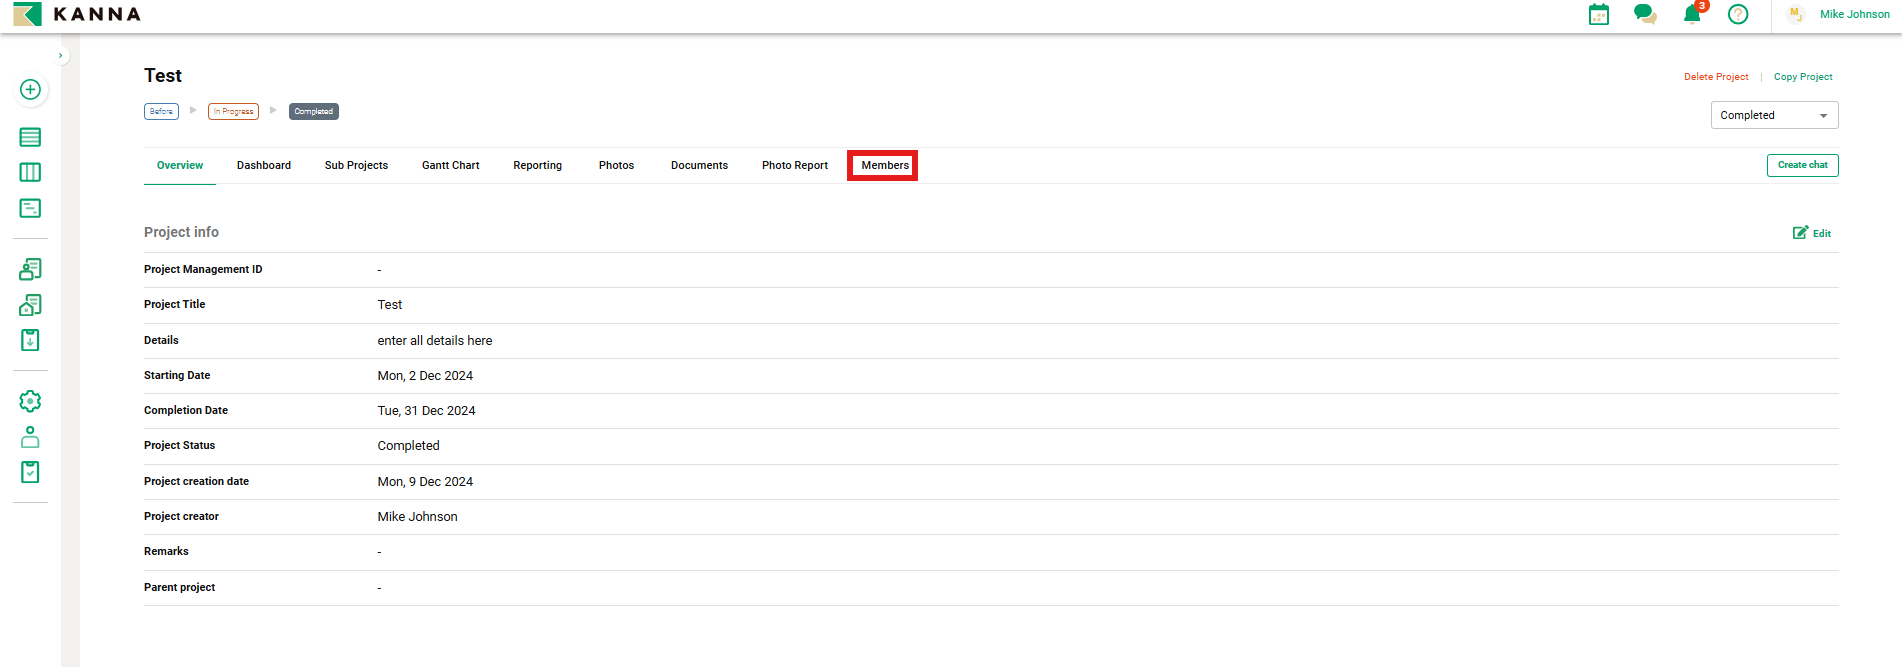
2. Click Members.
3. Click + Assign a member.
4. Select the member you want to add. If you want to set them as a Project Admin, click Project Admin on the right, then click Add at the bottom.
Note: If no selection is made, the member will be added as a General Member by default.
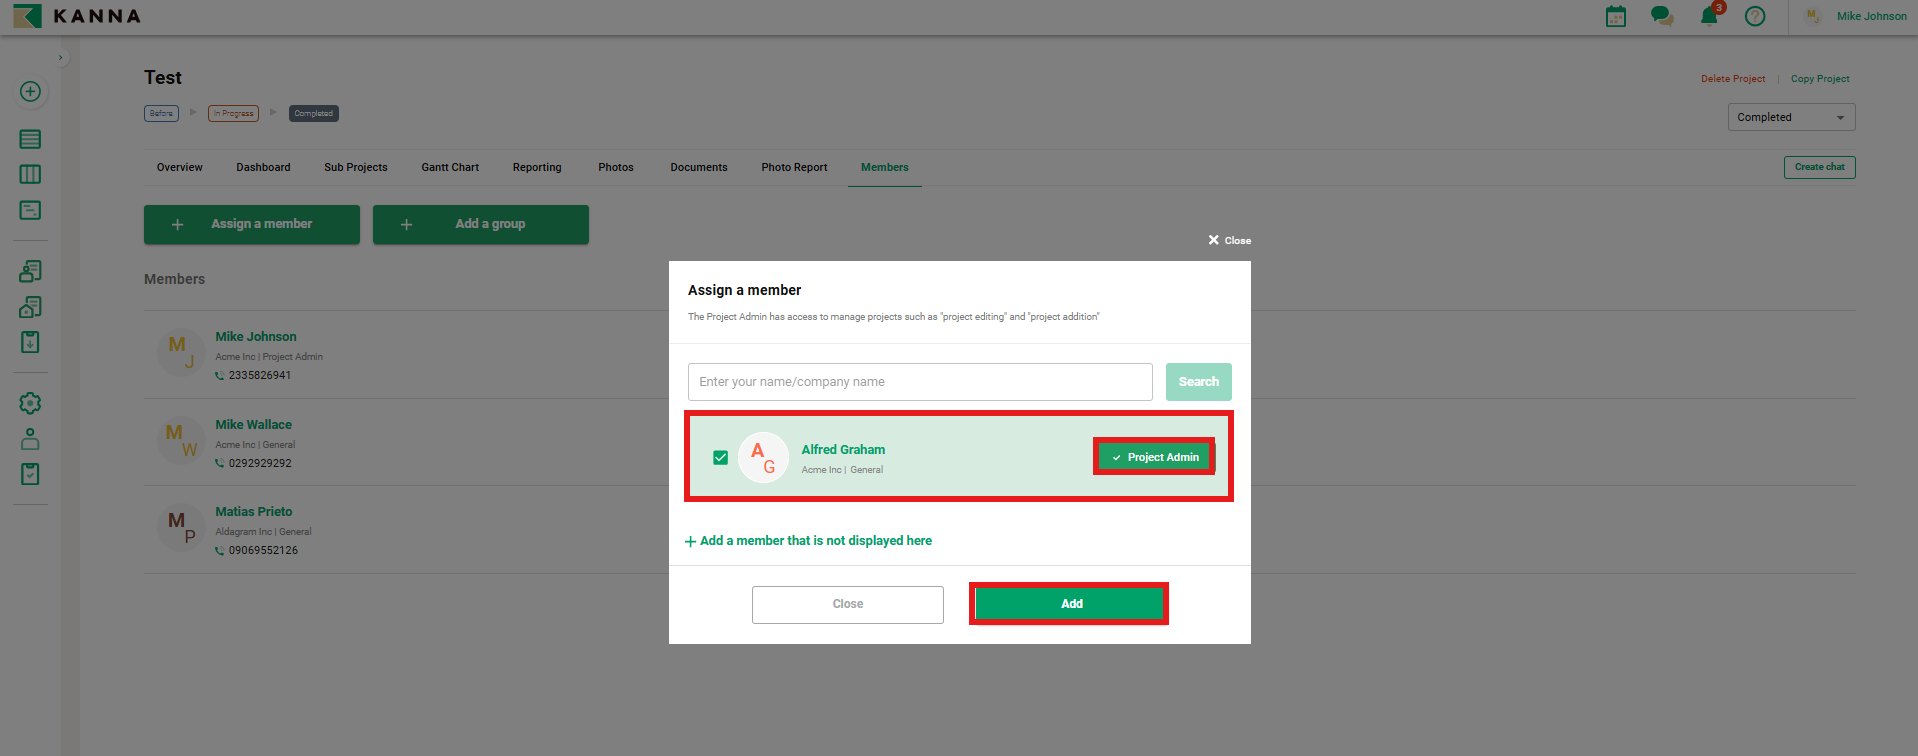
5. Member addition is complete.
Remove Project Members
Note: Once a member is removed from a project, general members from your company and external members will no longer have access to any project-related information.
App
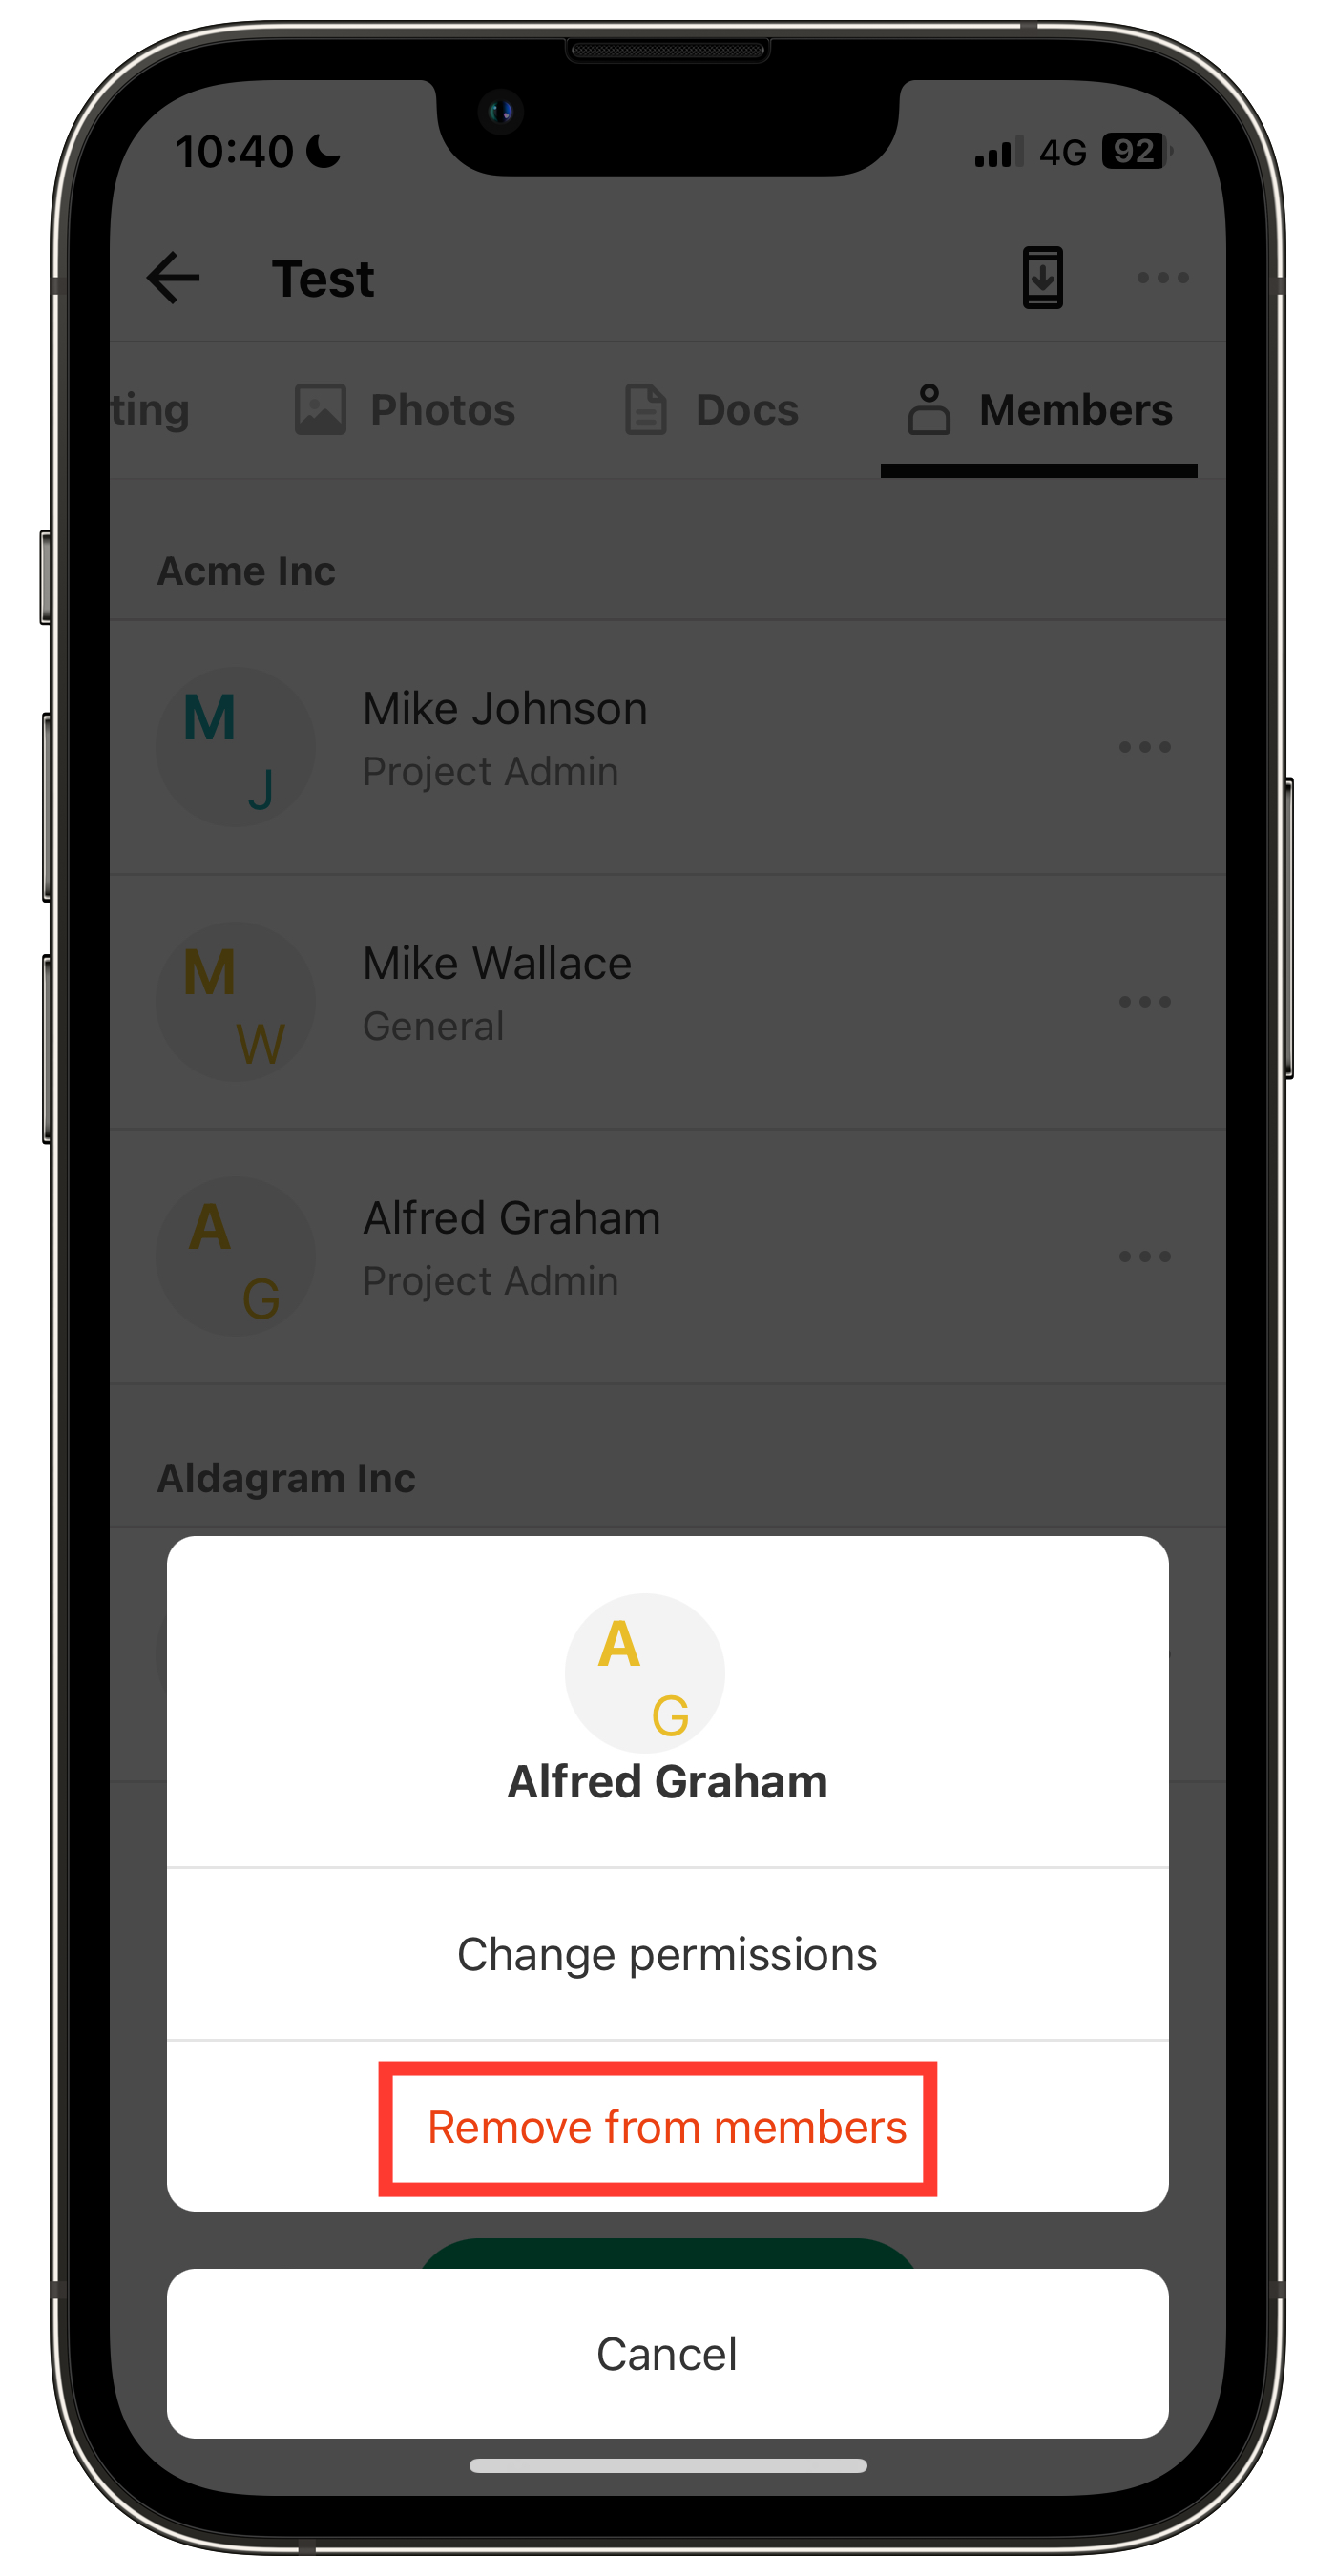
1. From the project, tap Members.

2. Tap the ... (three-dot menu) next to the member you want to remove from the project.
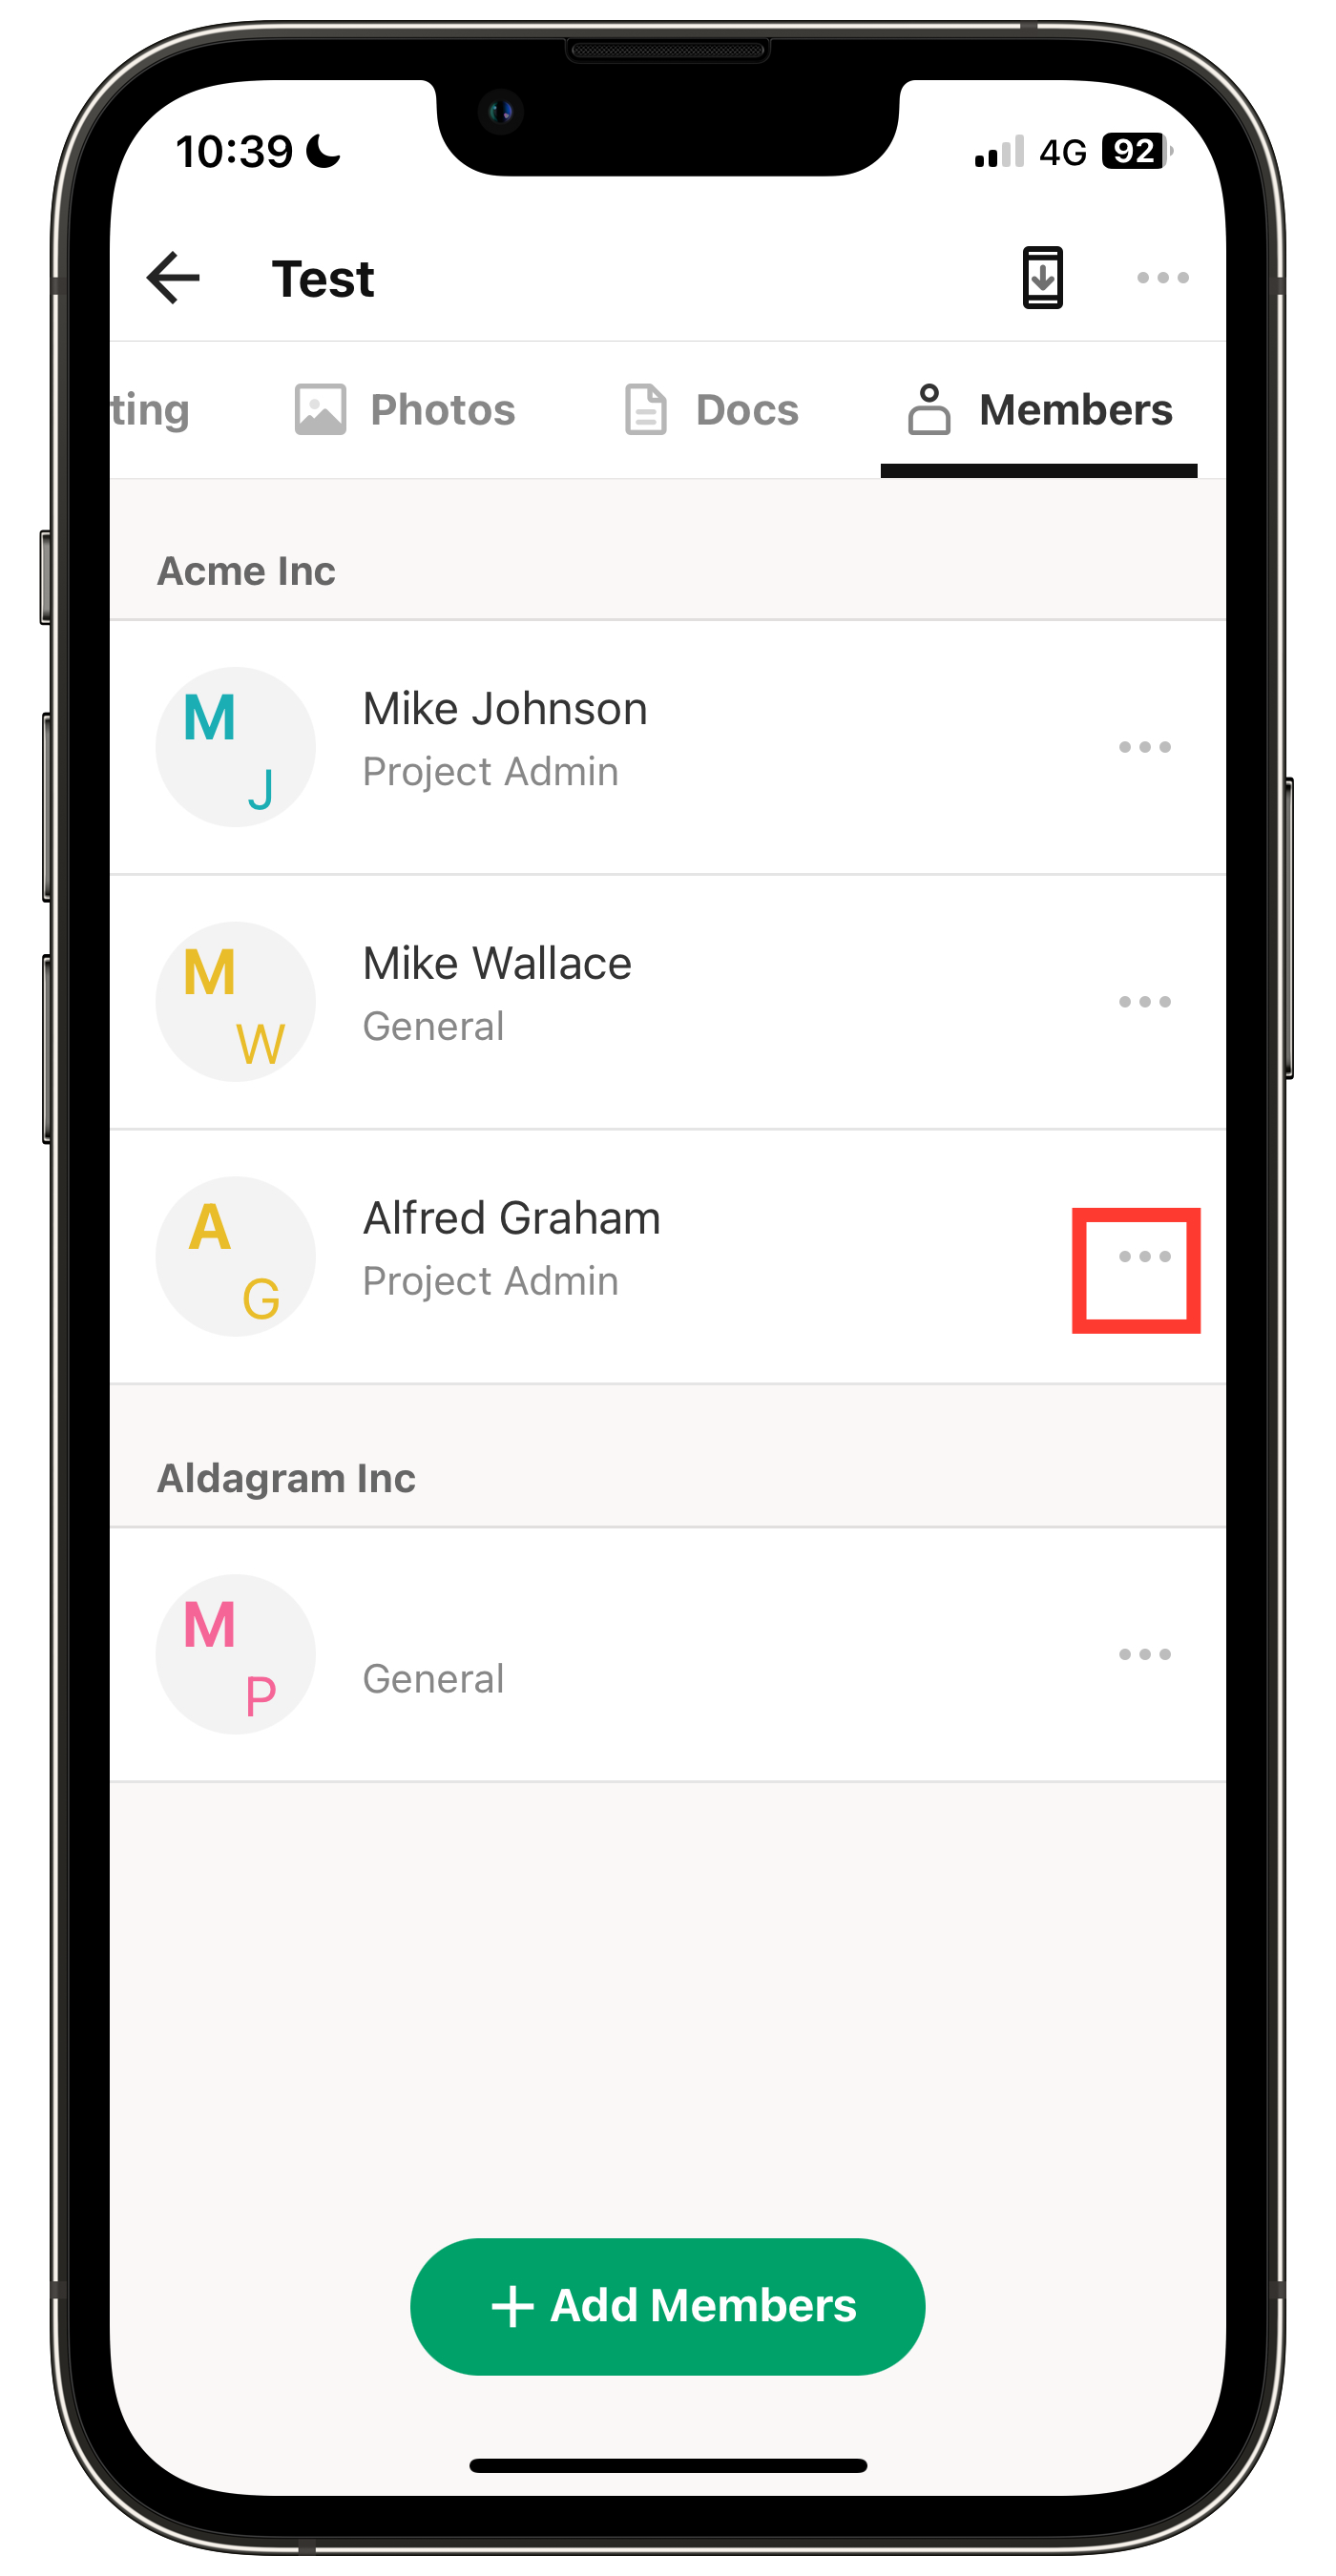
3. Tap Remove from Members.
Computer
1. Select the project from the Projects menu.
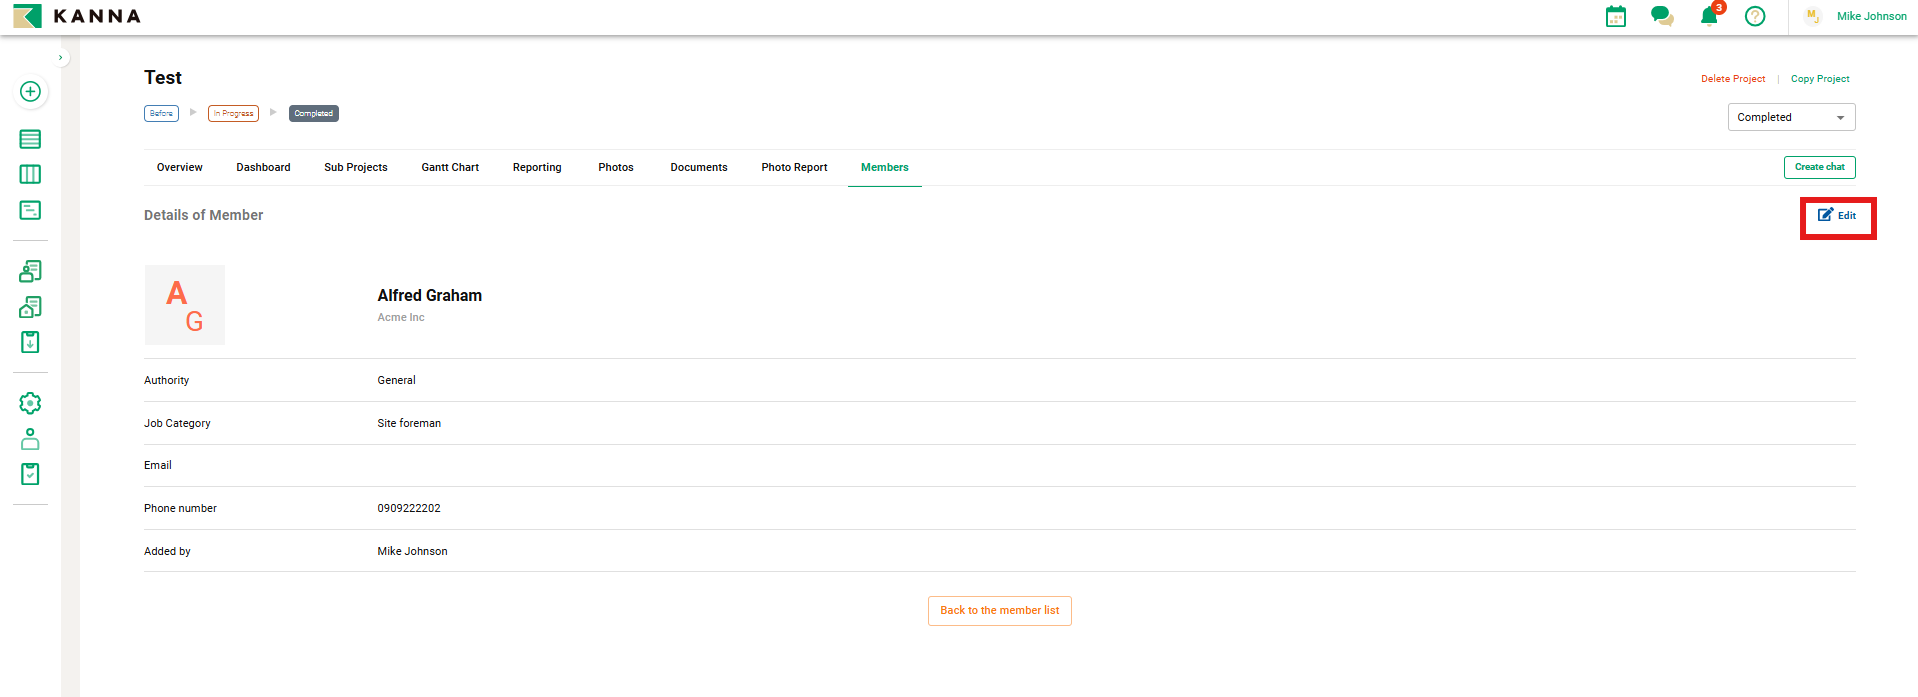
2. Click Members, then click the member you want to remove from the project.

3. Click Edit on the right.
4. Click Removing from the list of Members, then select Delete.