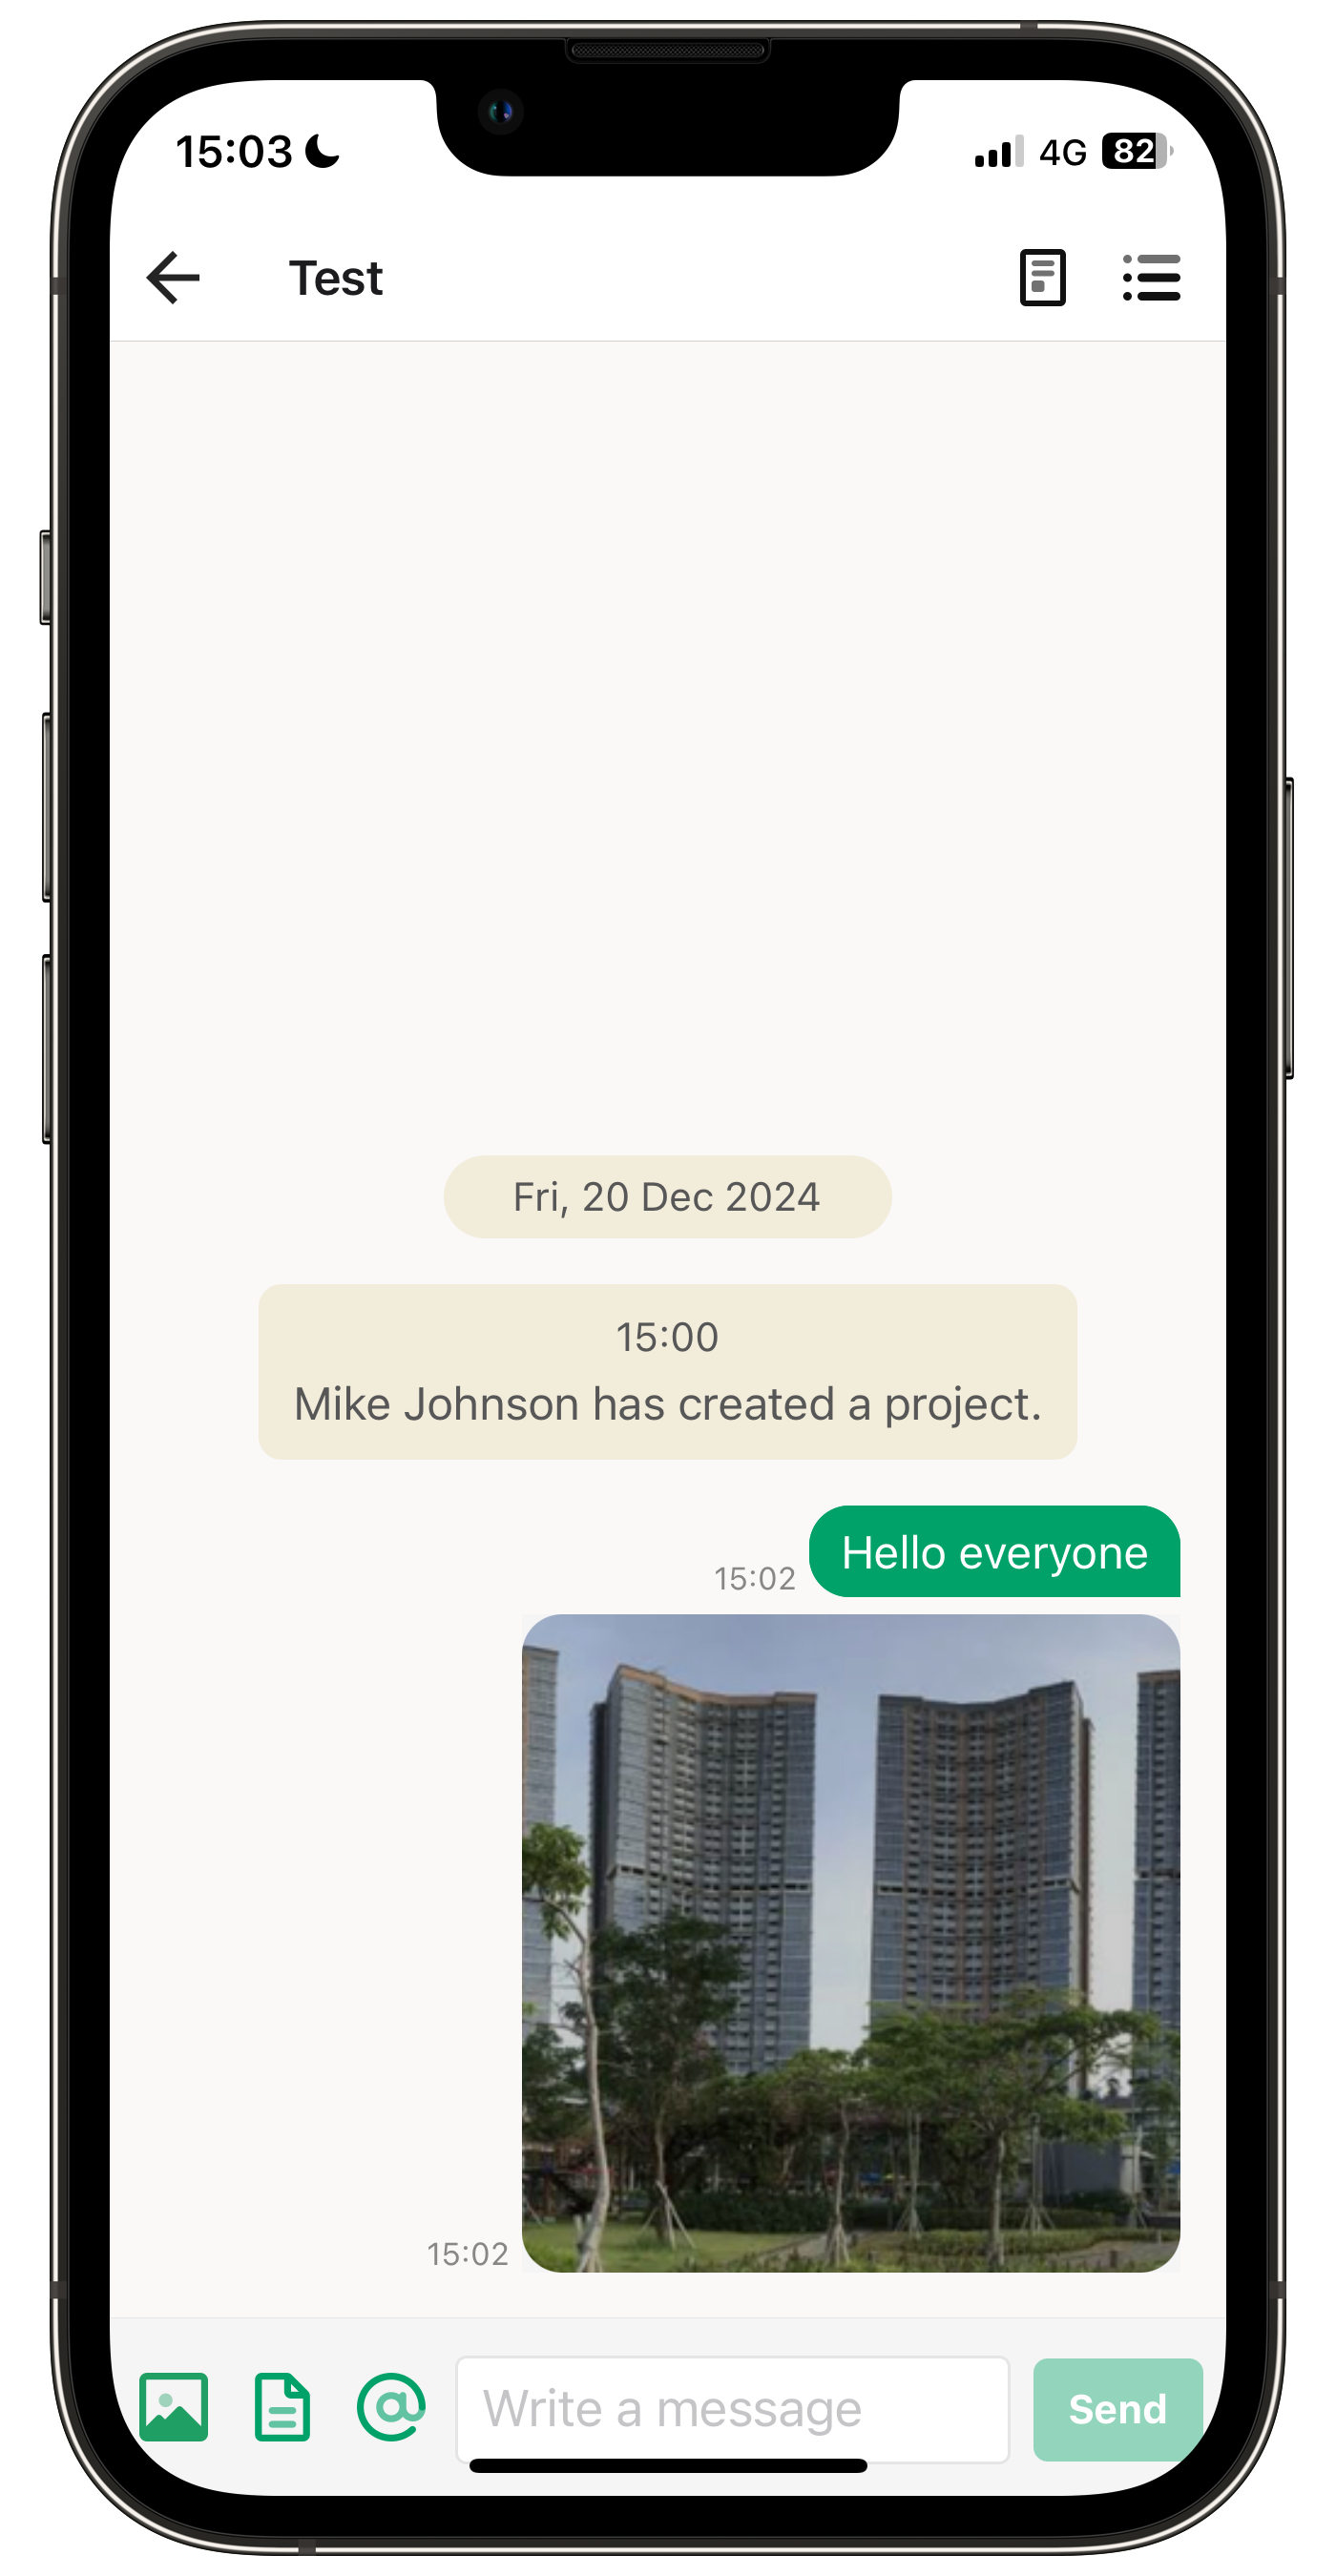
In KANNA, you can use project chats, group chats, and individual chats.
Chats include features such as sending photos and documents, as well as mention and read receipt functions.
For more details, please refer to the article below.
Using the app
Opening a chat from a project
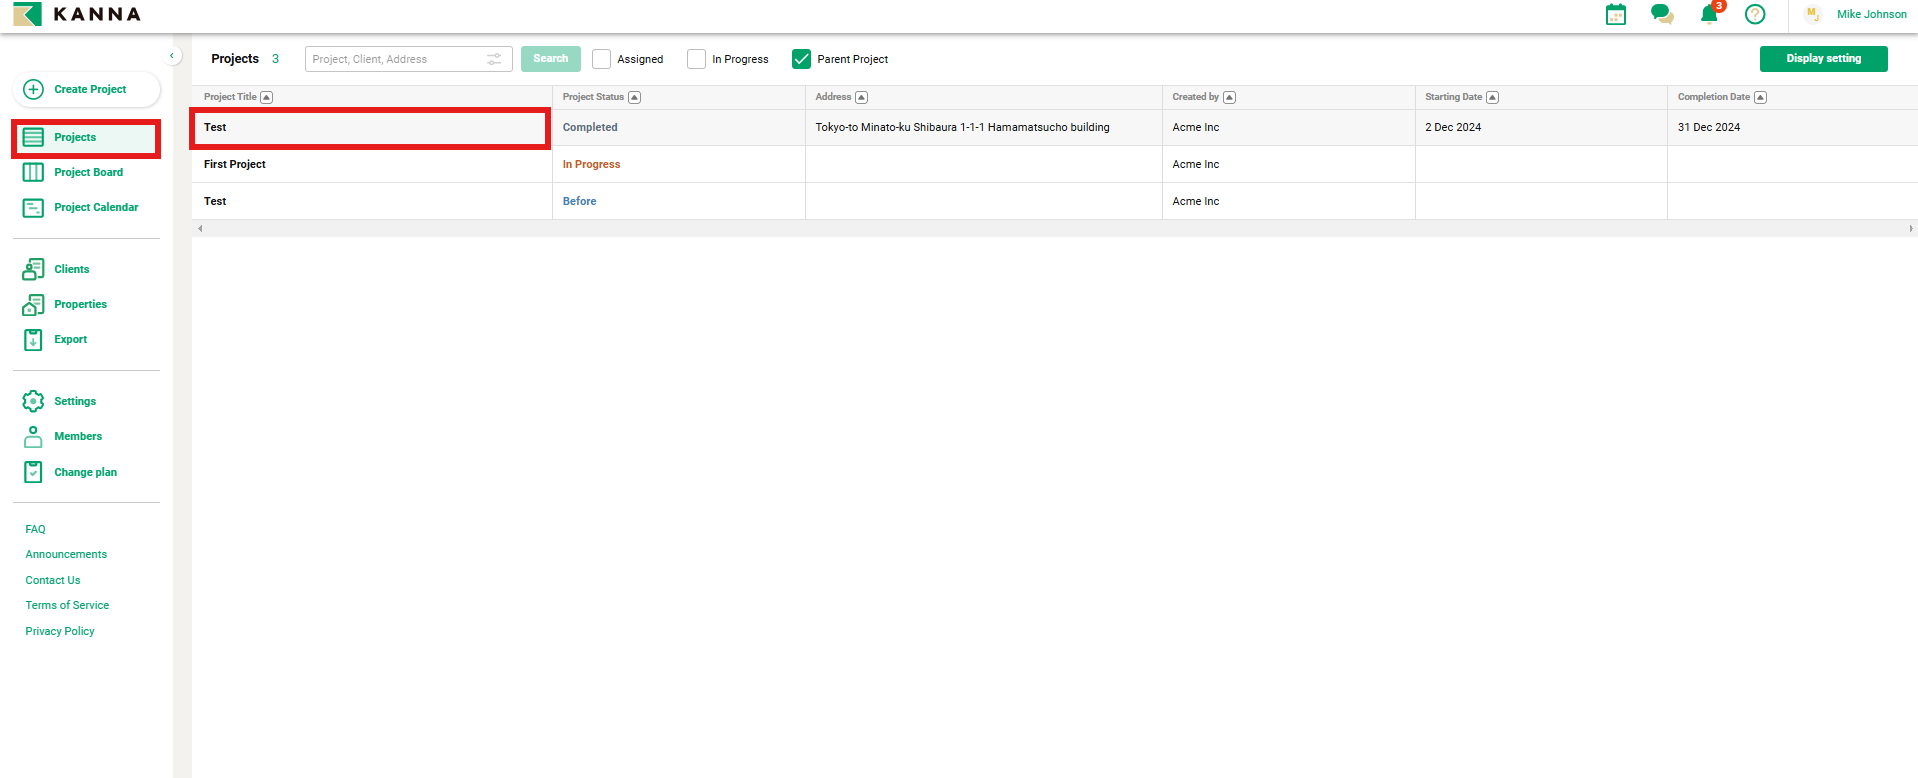
1. Tap on the desired project in the "Projects" page to access the chat.

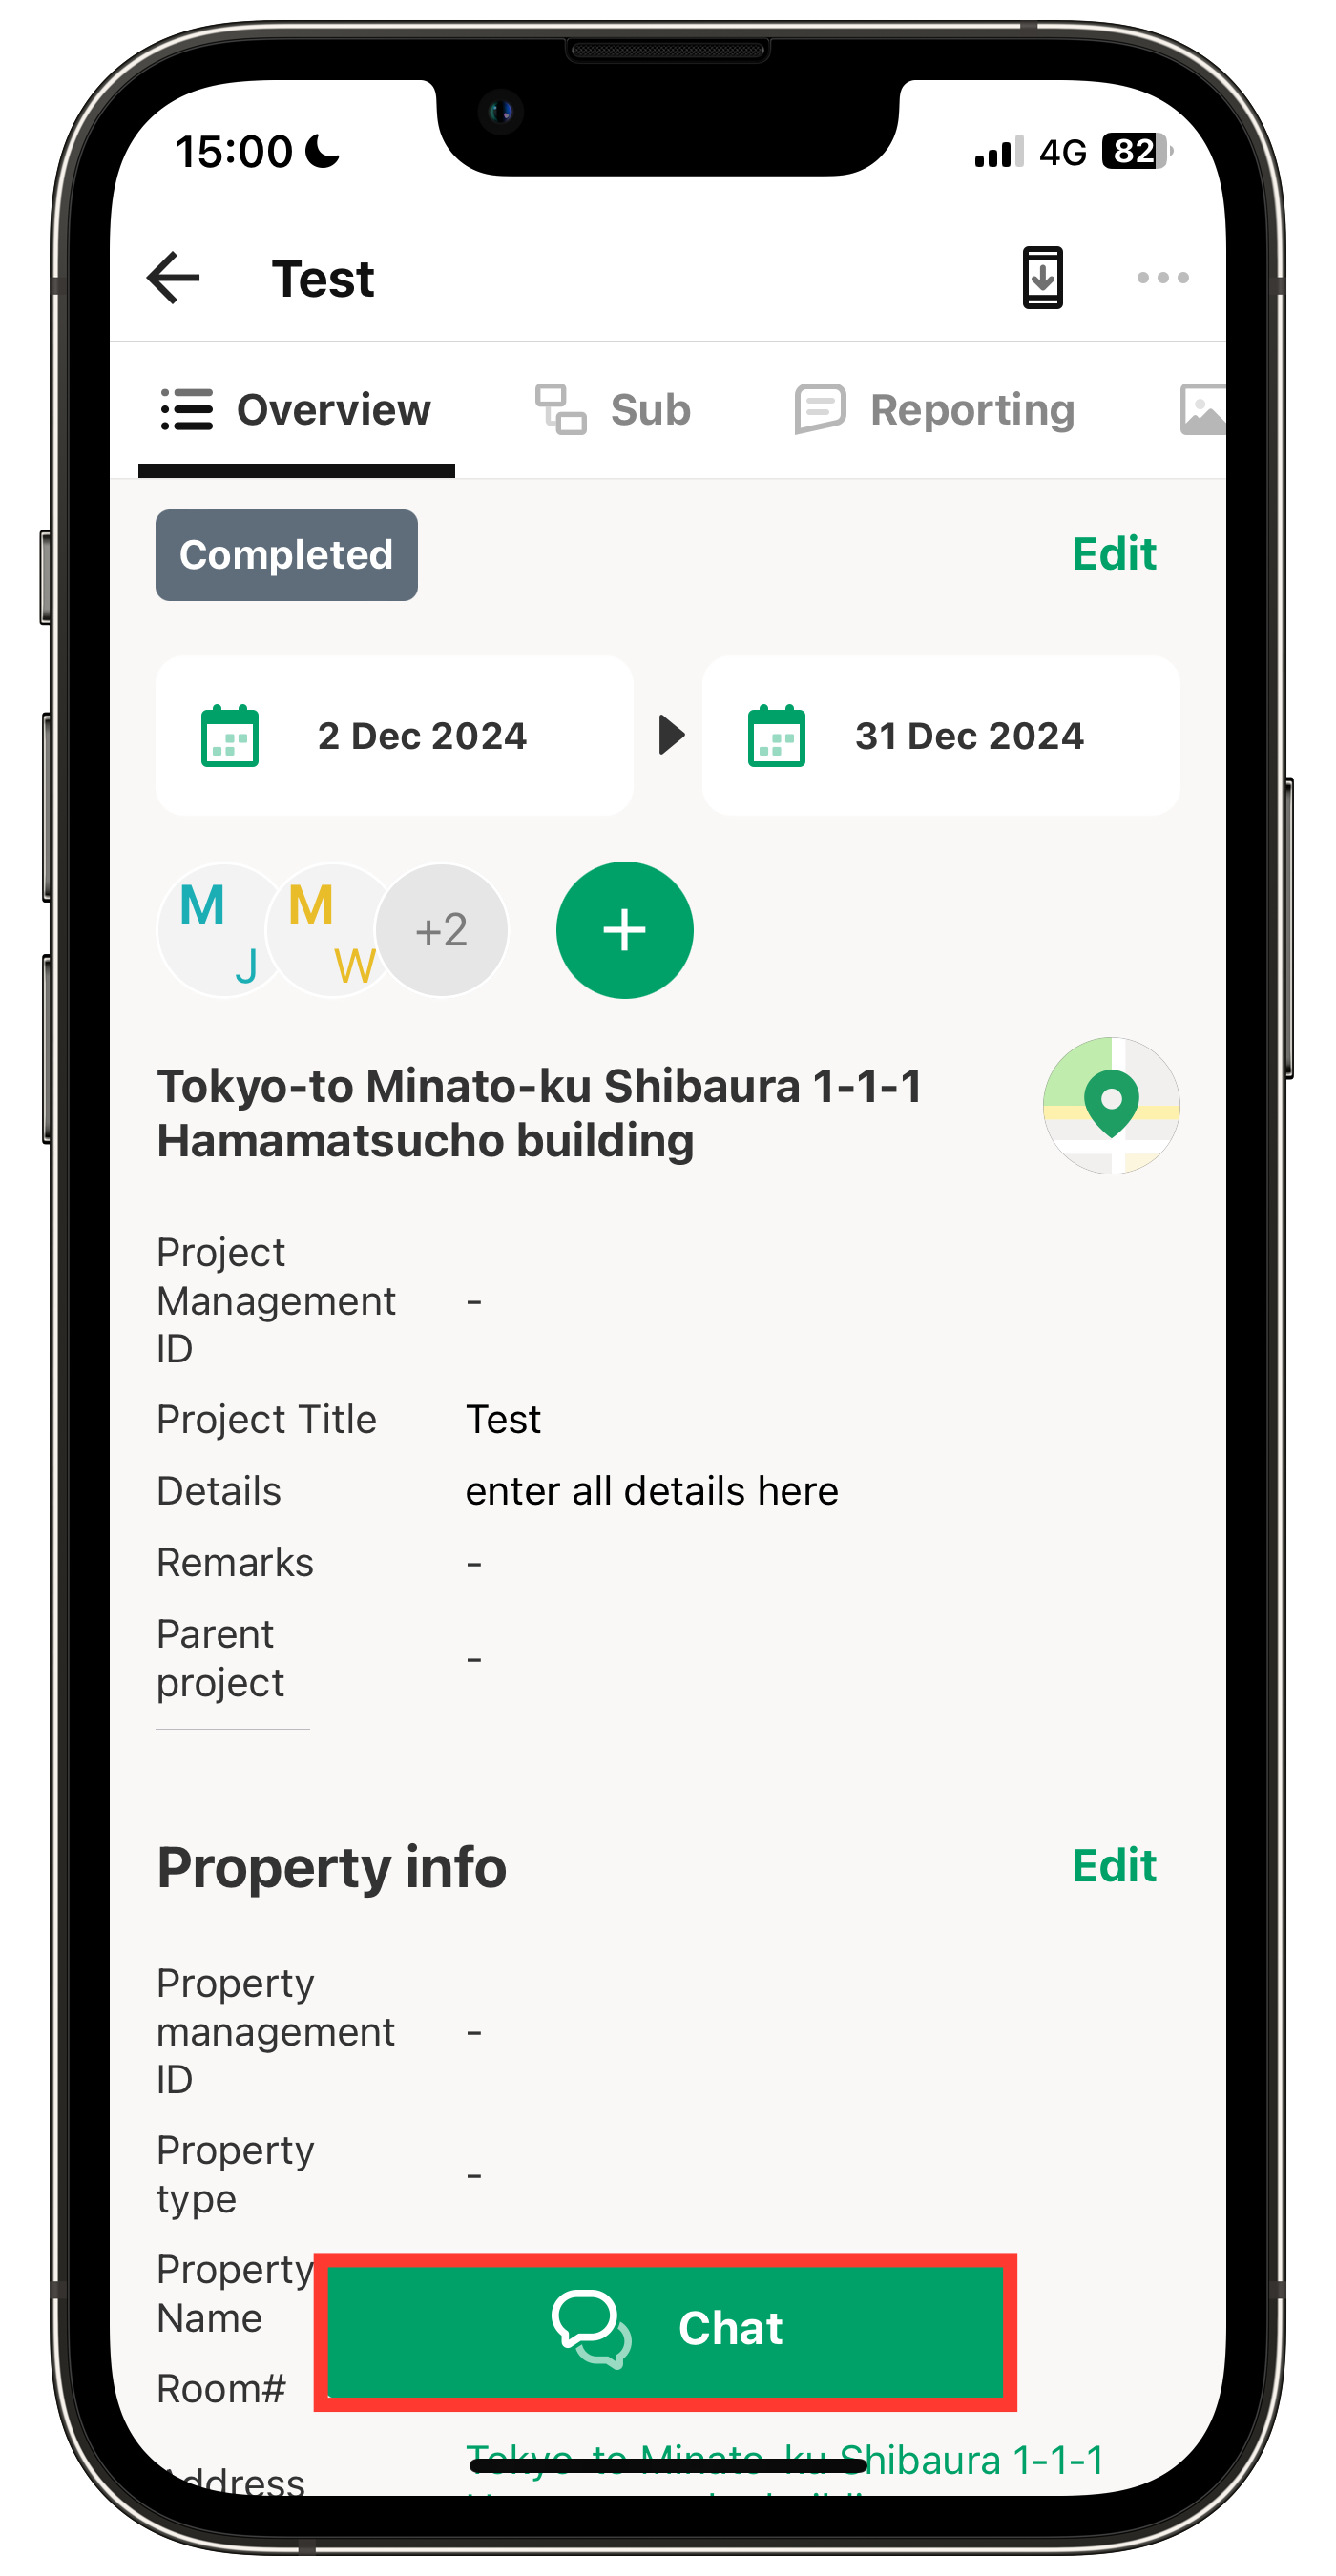
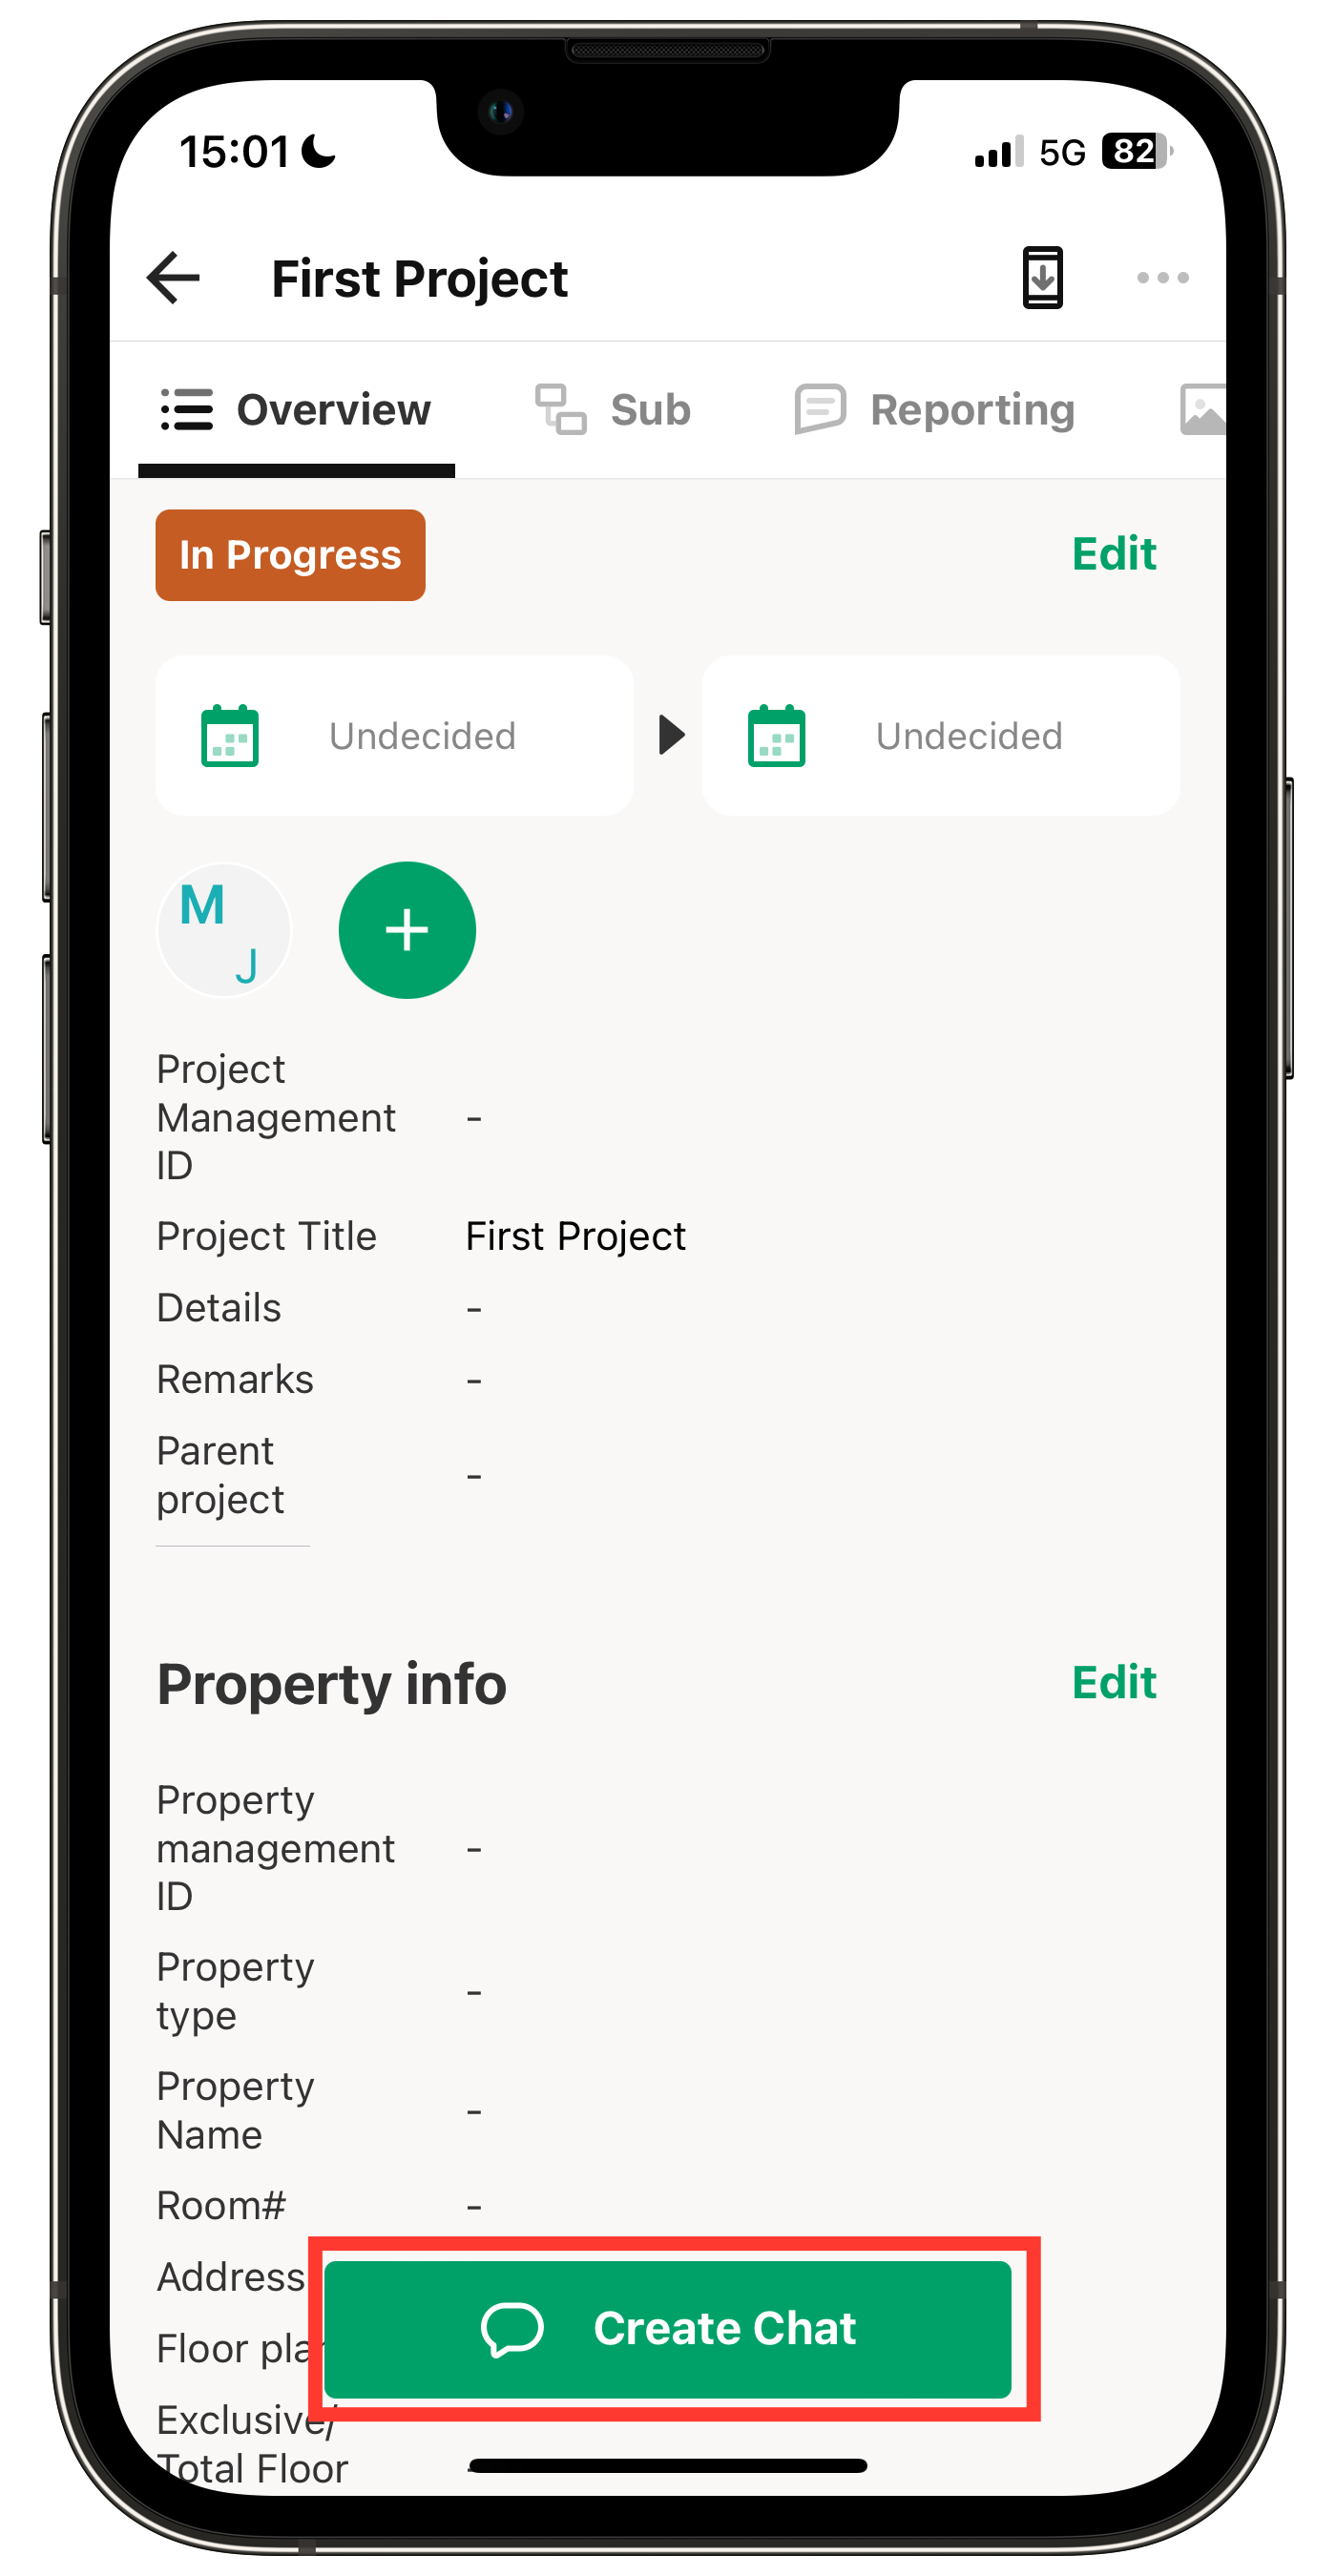
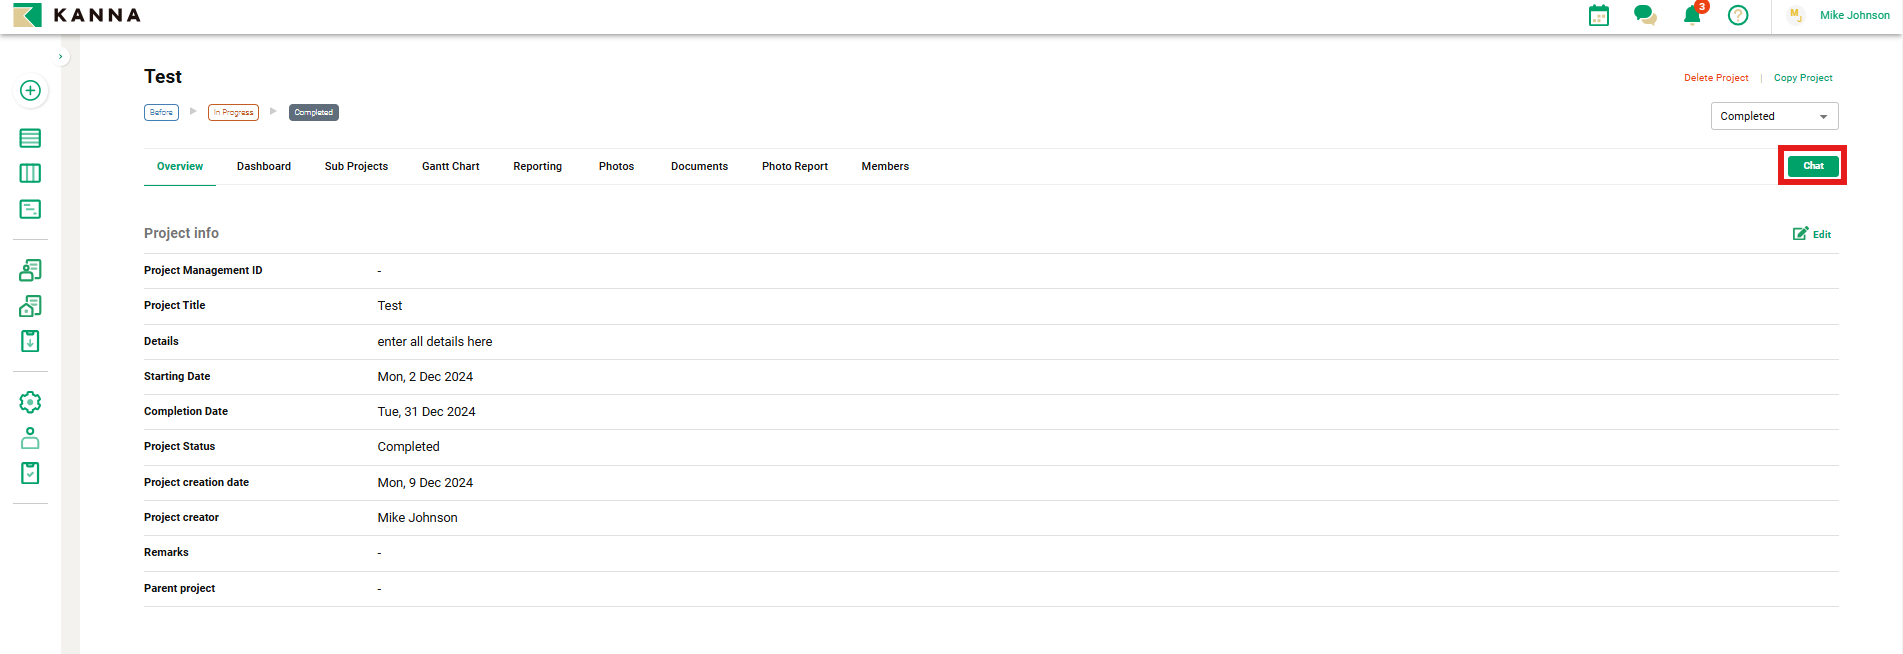
2. Tap "Chat" at the bottom.
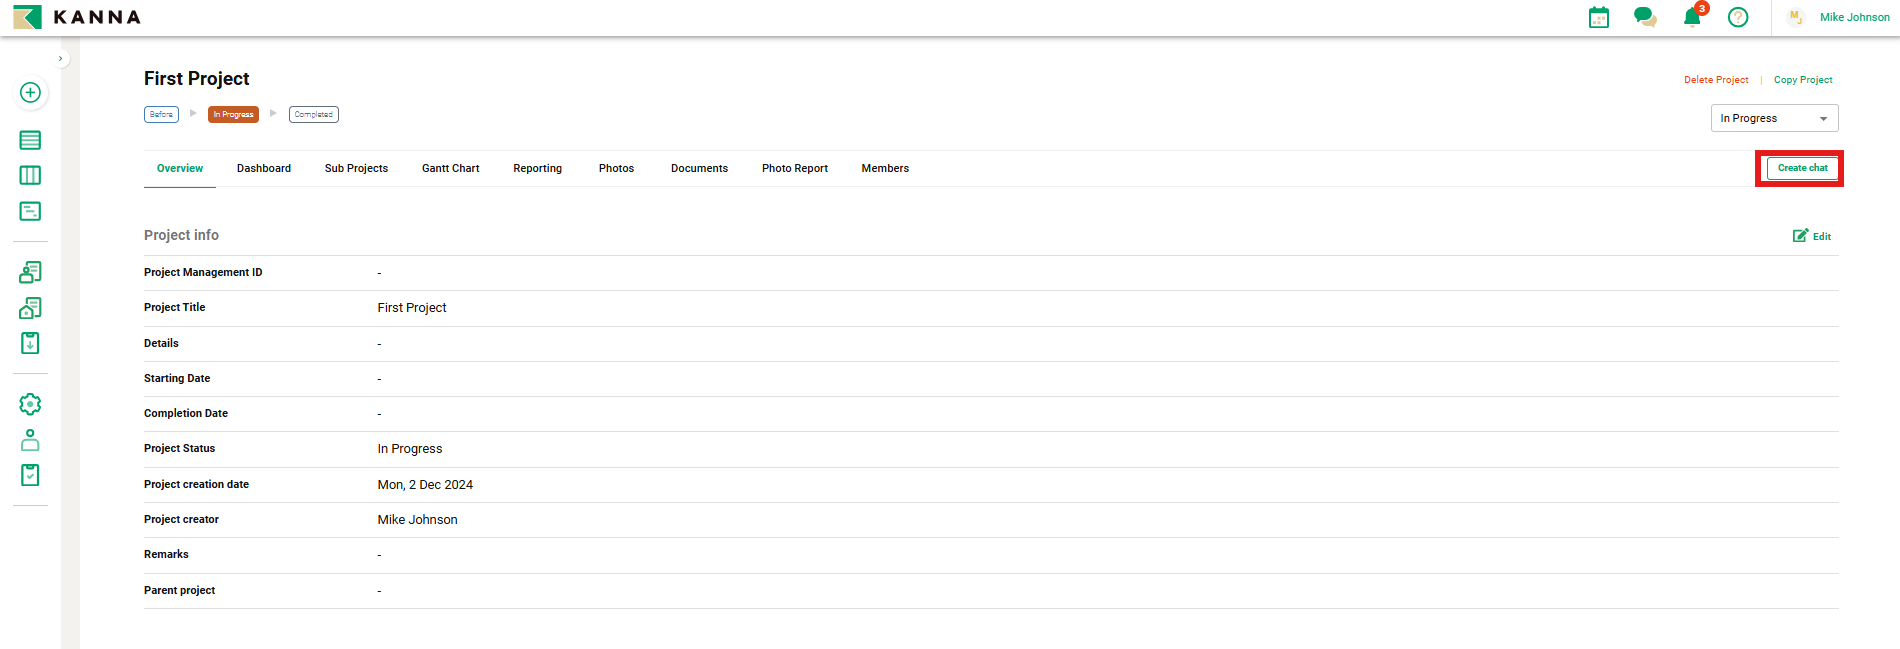
For newly created projects, "Create Chat" will be displayed (see second image).
By pressing "Create Chat", a chat group for the corresponding project will be created.
Note: Members from external companies with general permissions do not have the authority to use the "Create Chat" feature.
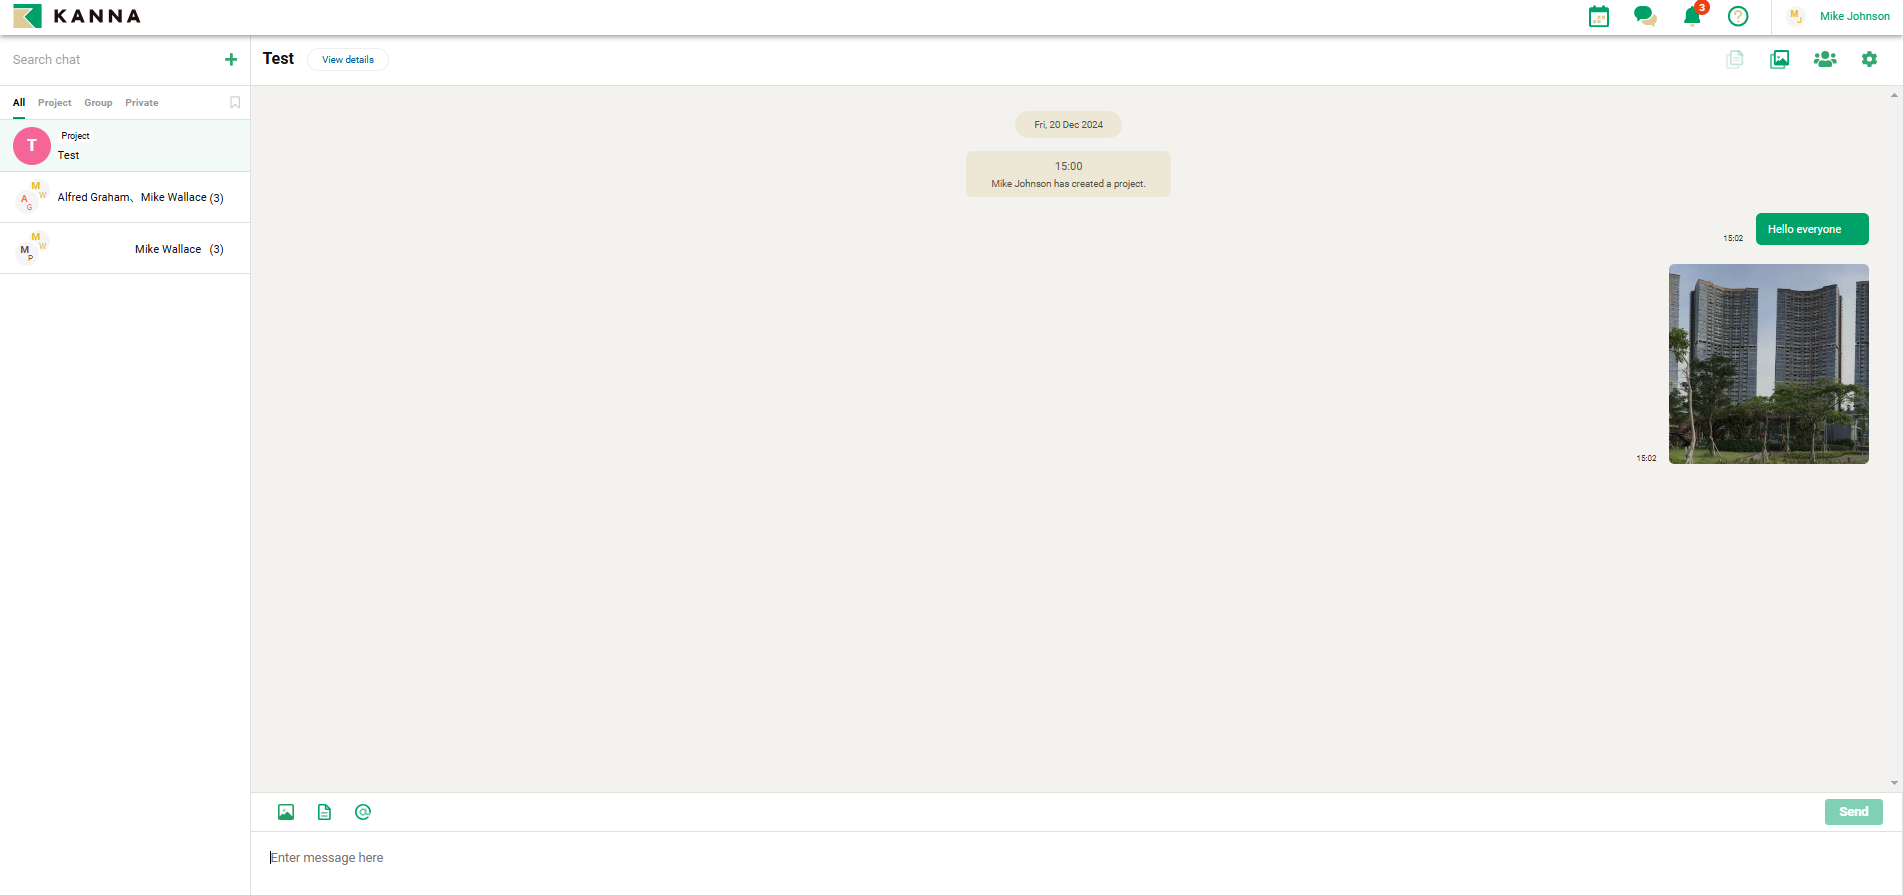
3. The chat for that project will open.
Opening a chat from "Chat"
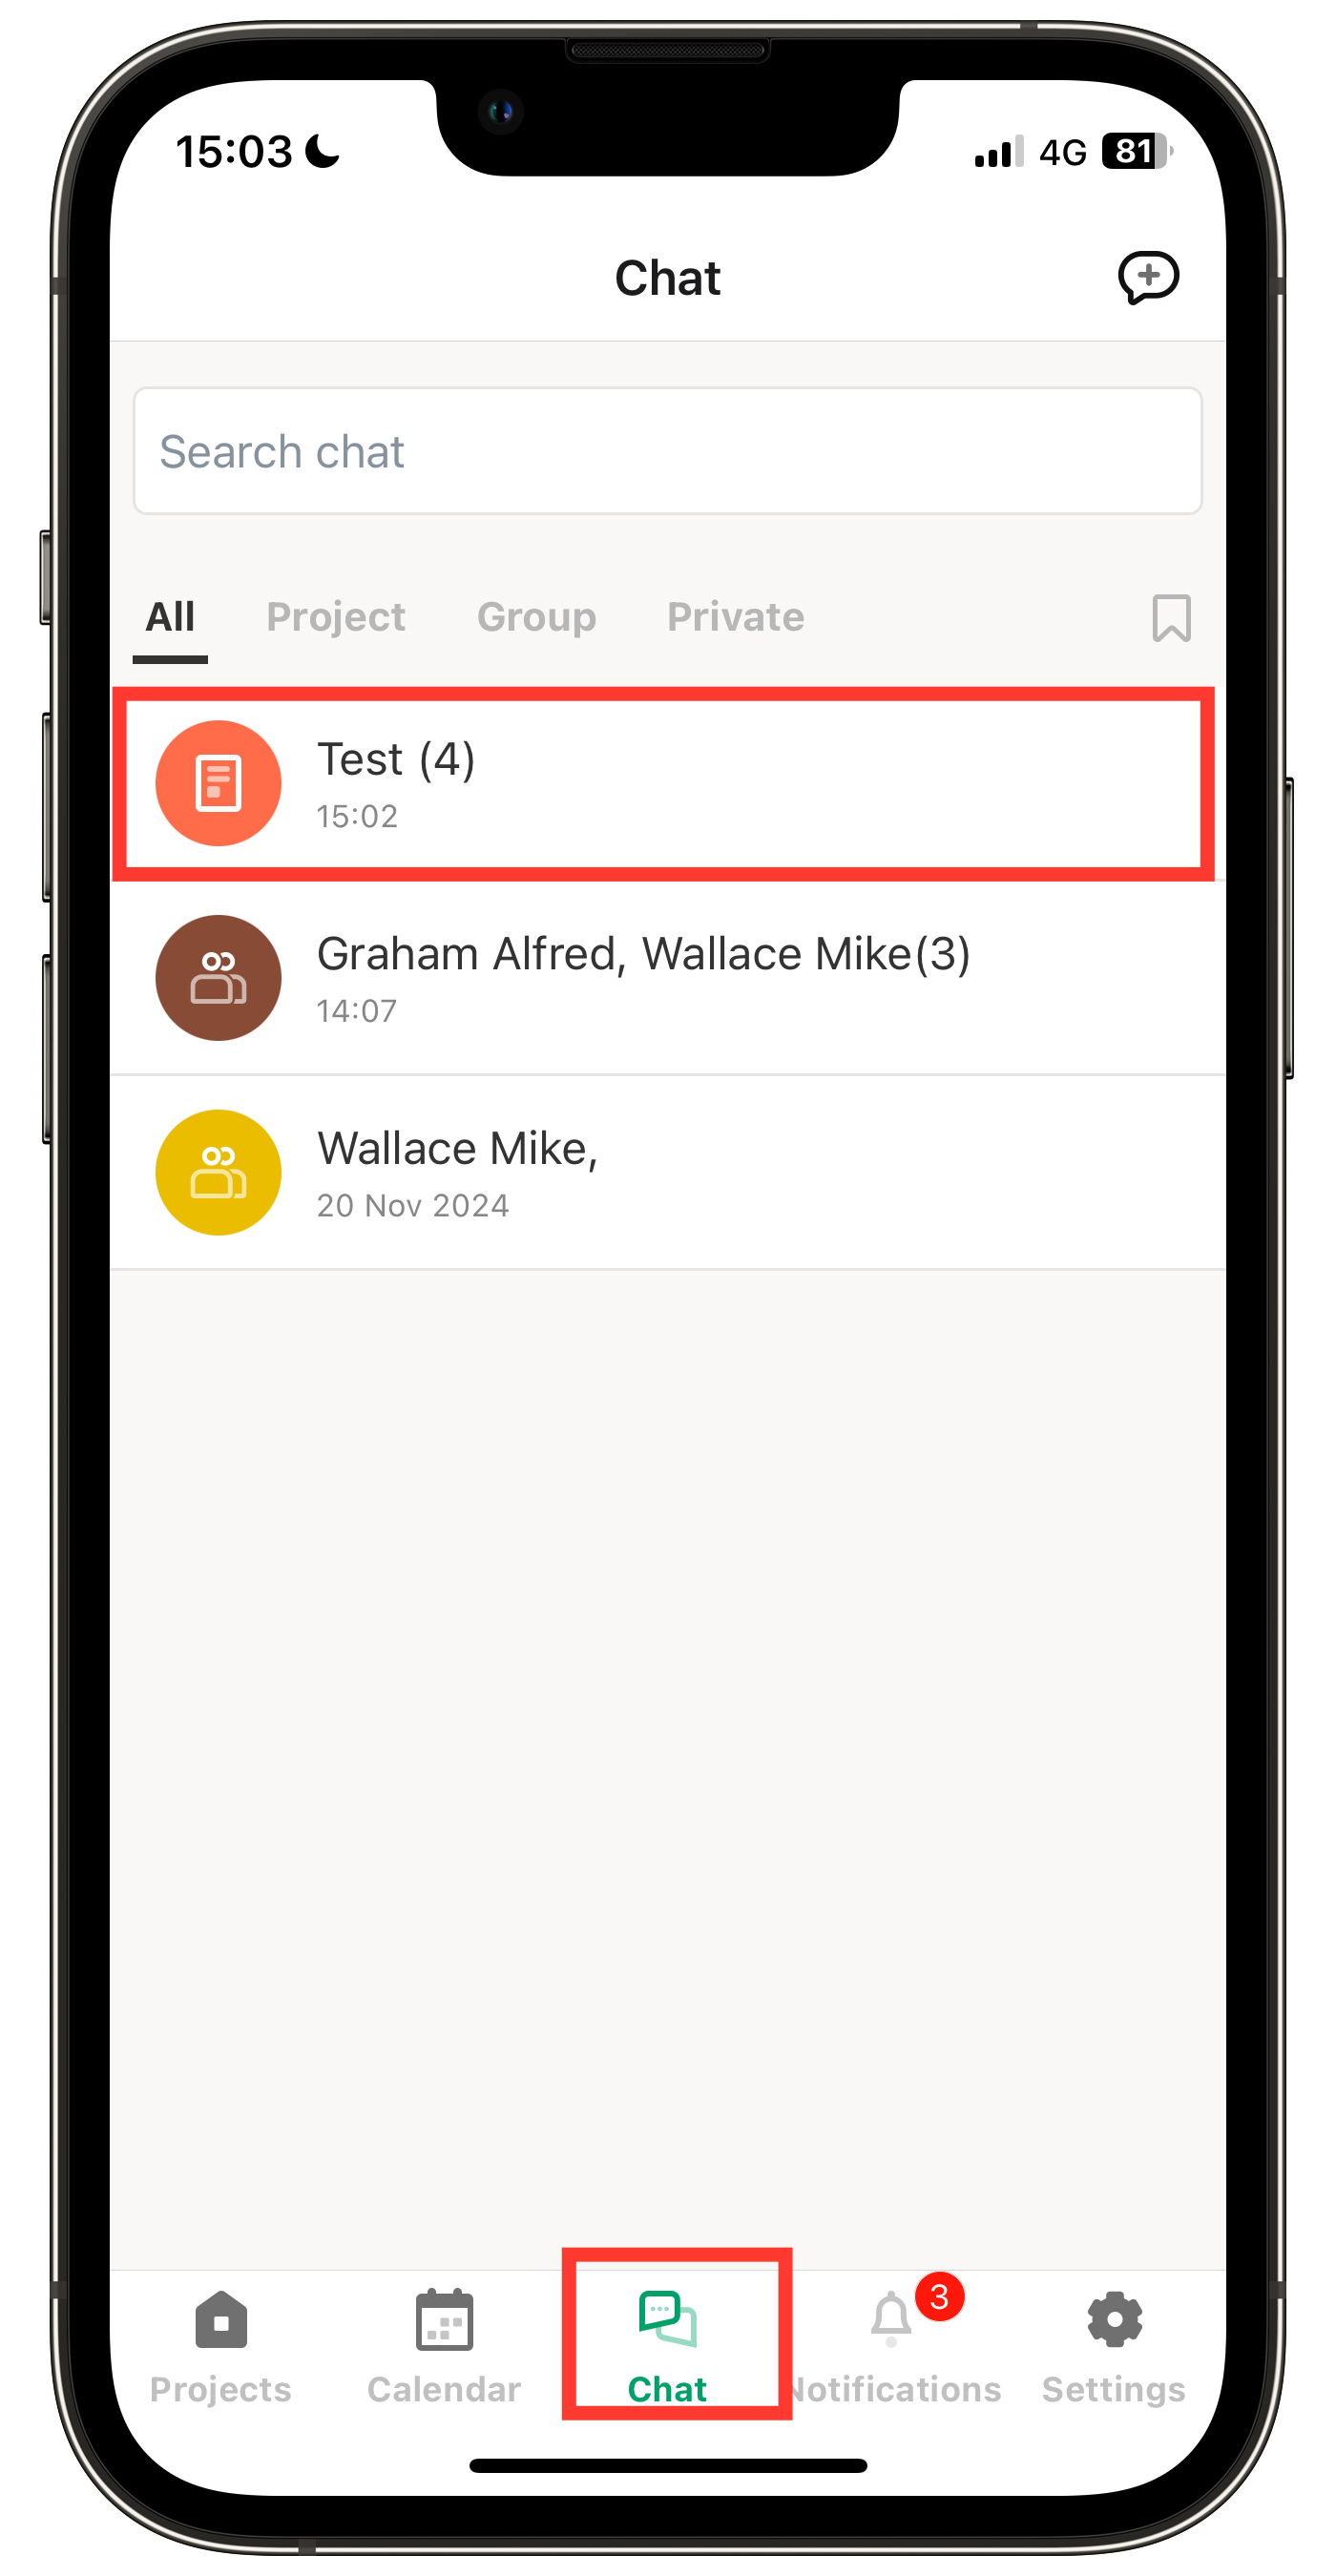
Tap the chat you want to open from "Chat."
You can view chats by selecting "All," "Project," "Group," or "Private" from the banner at the top.
Creating a group
1. Tap the icon in the top right corner.
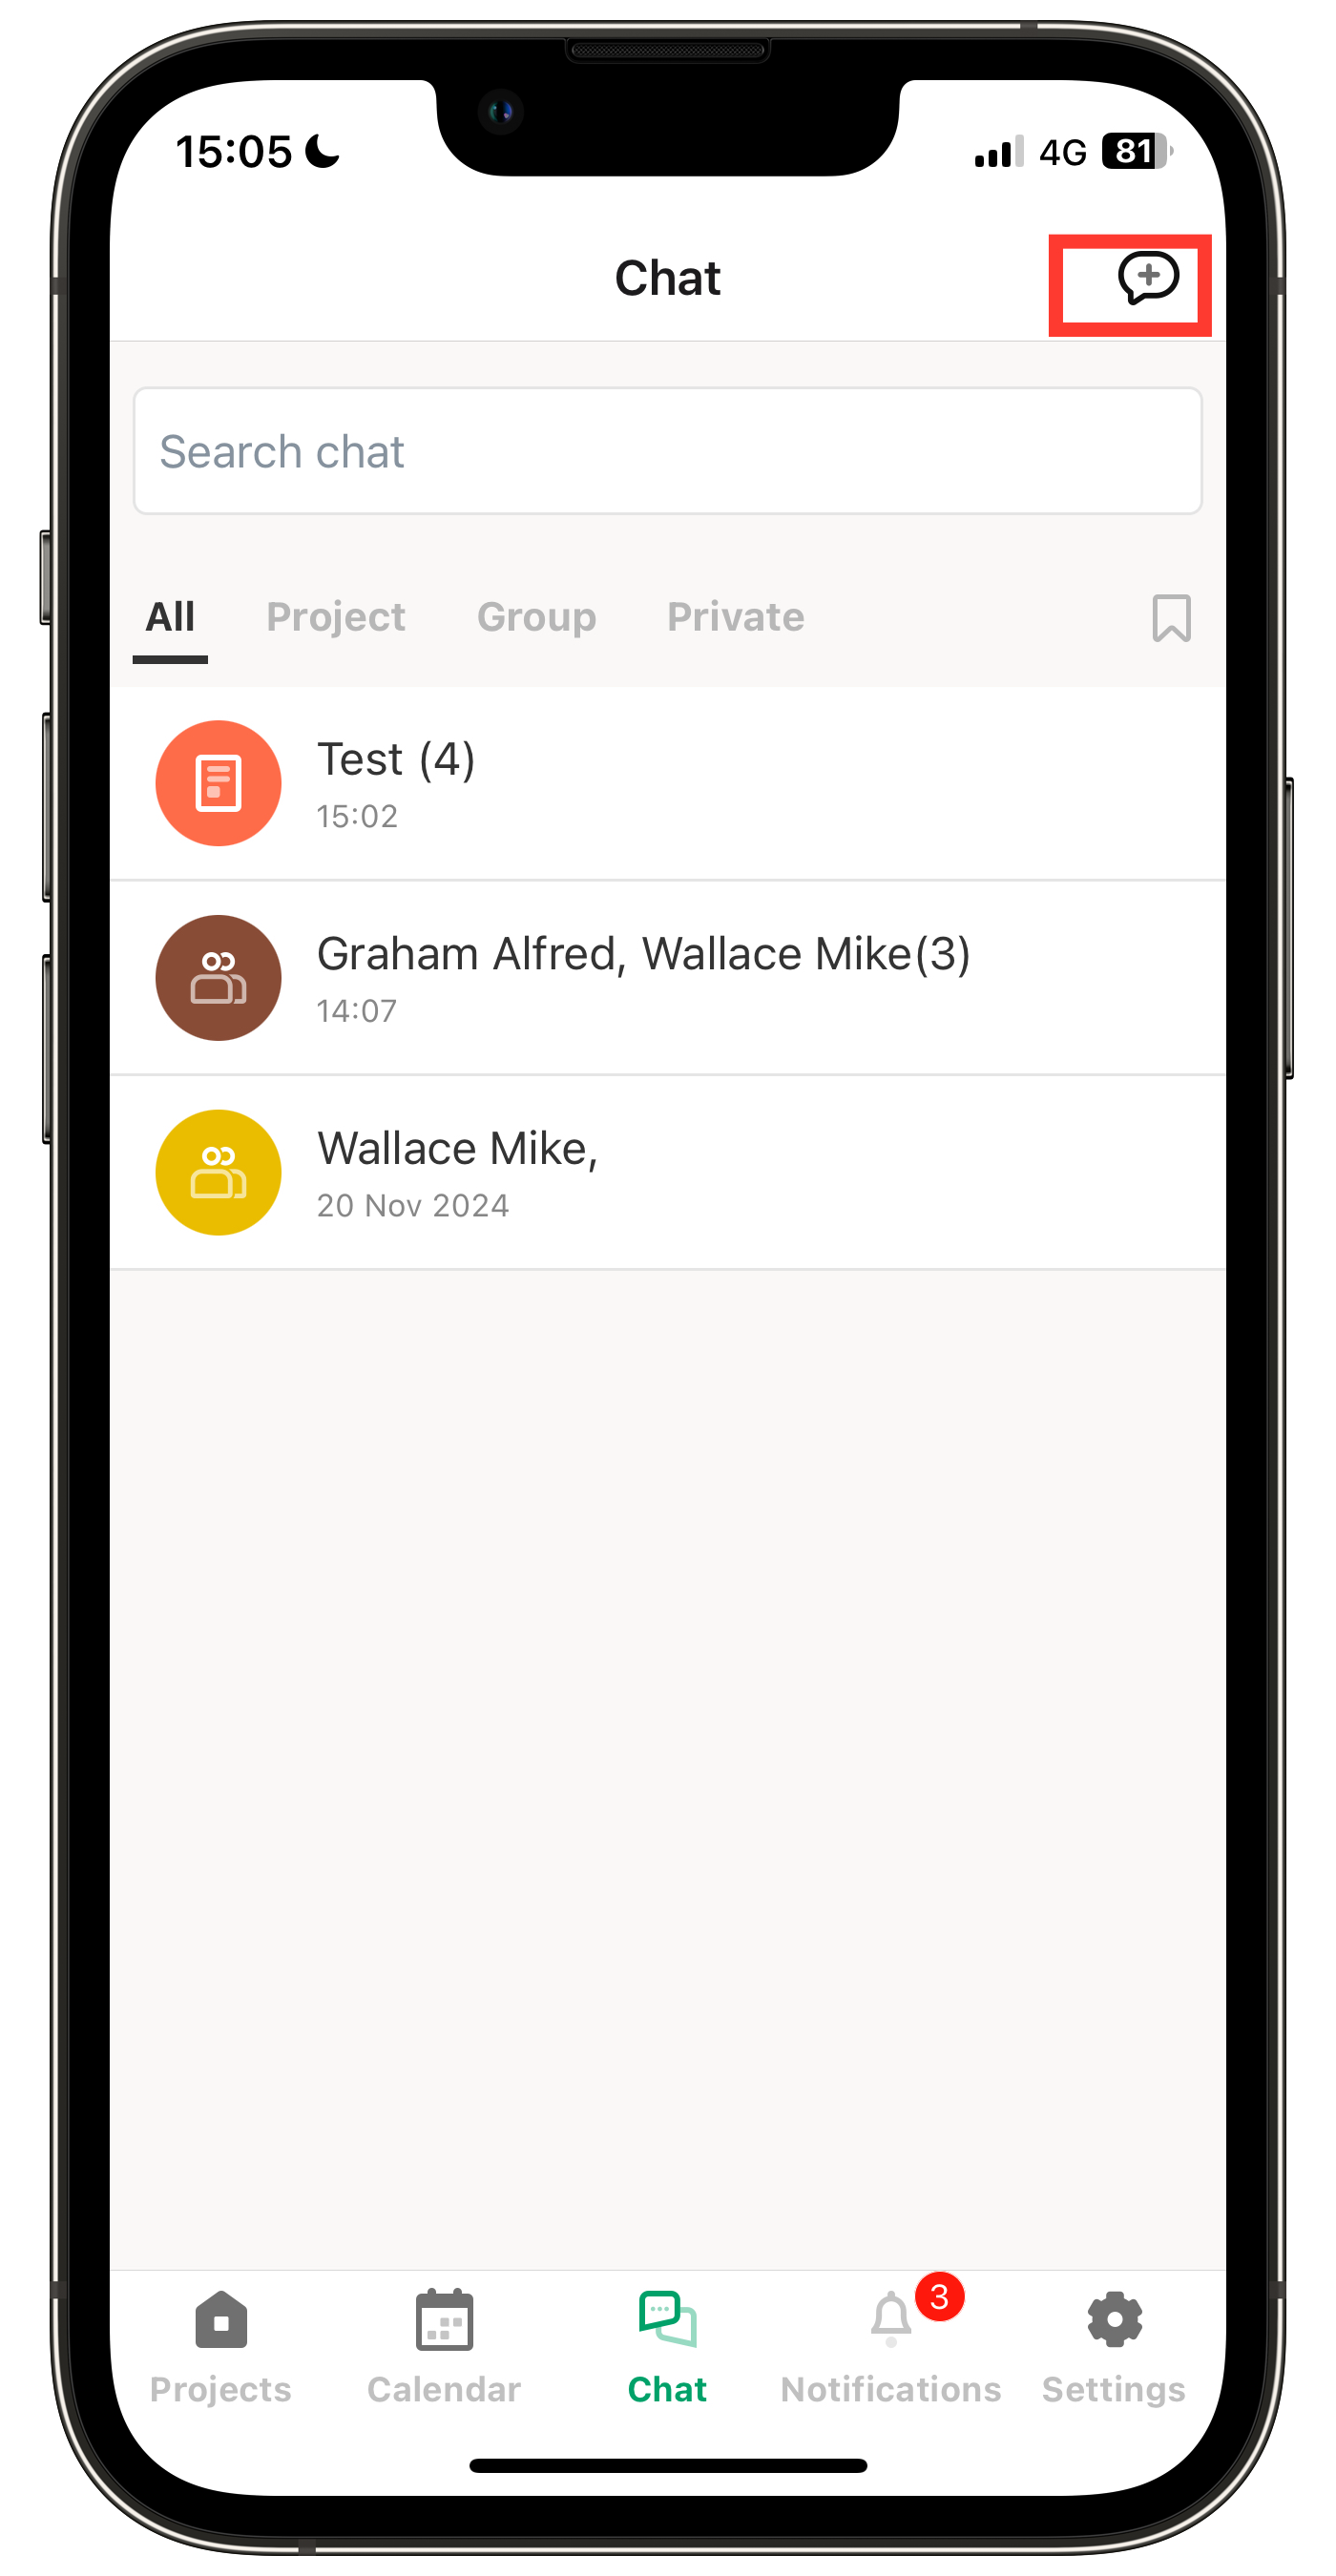
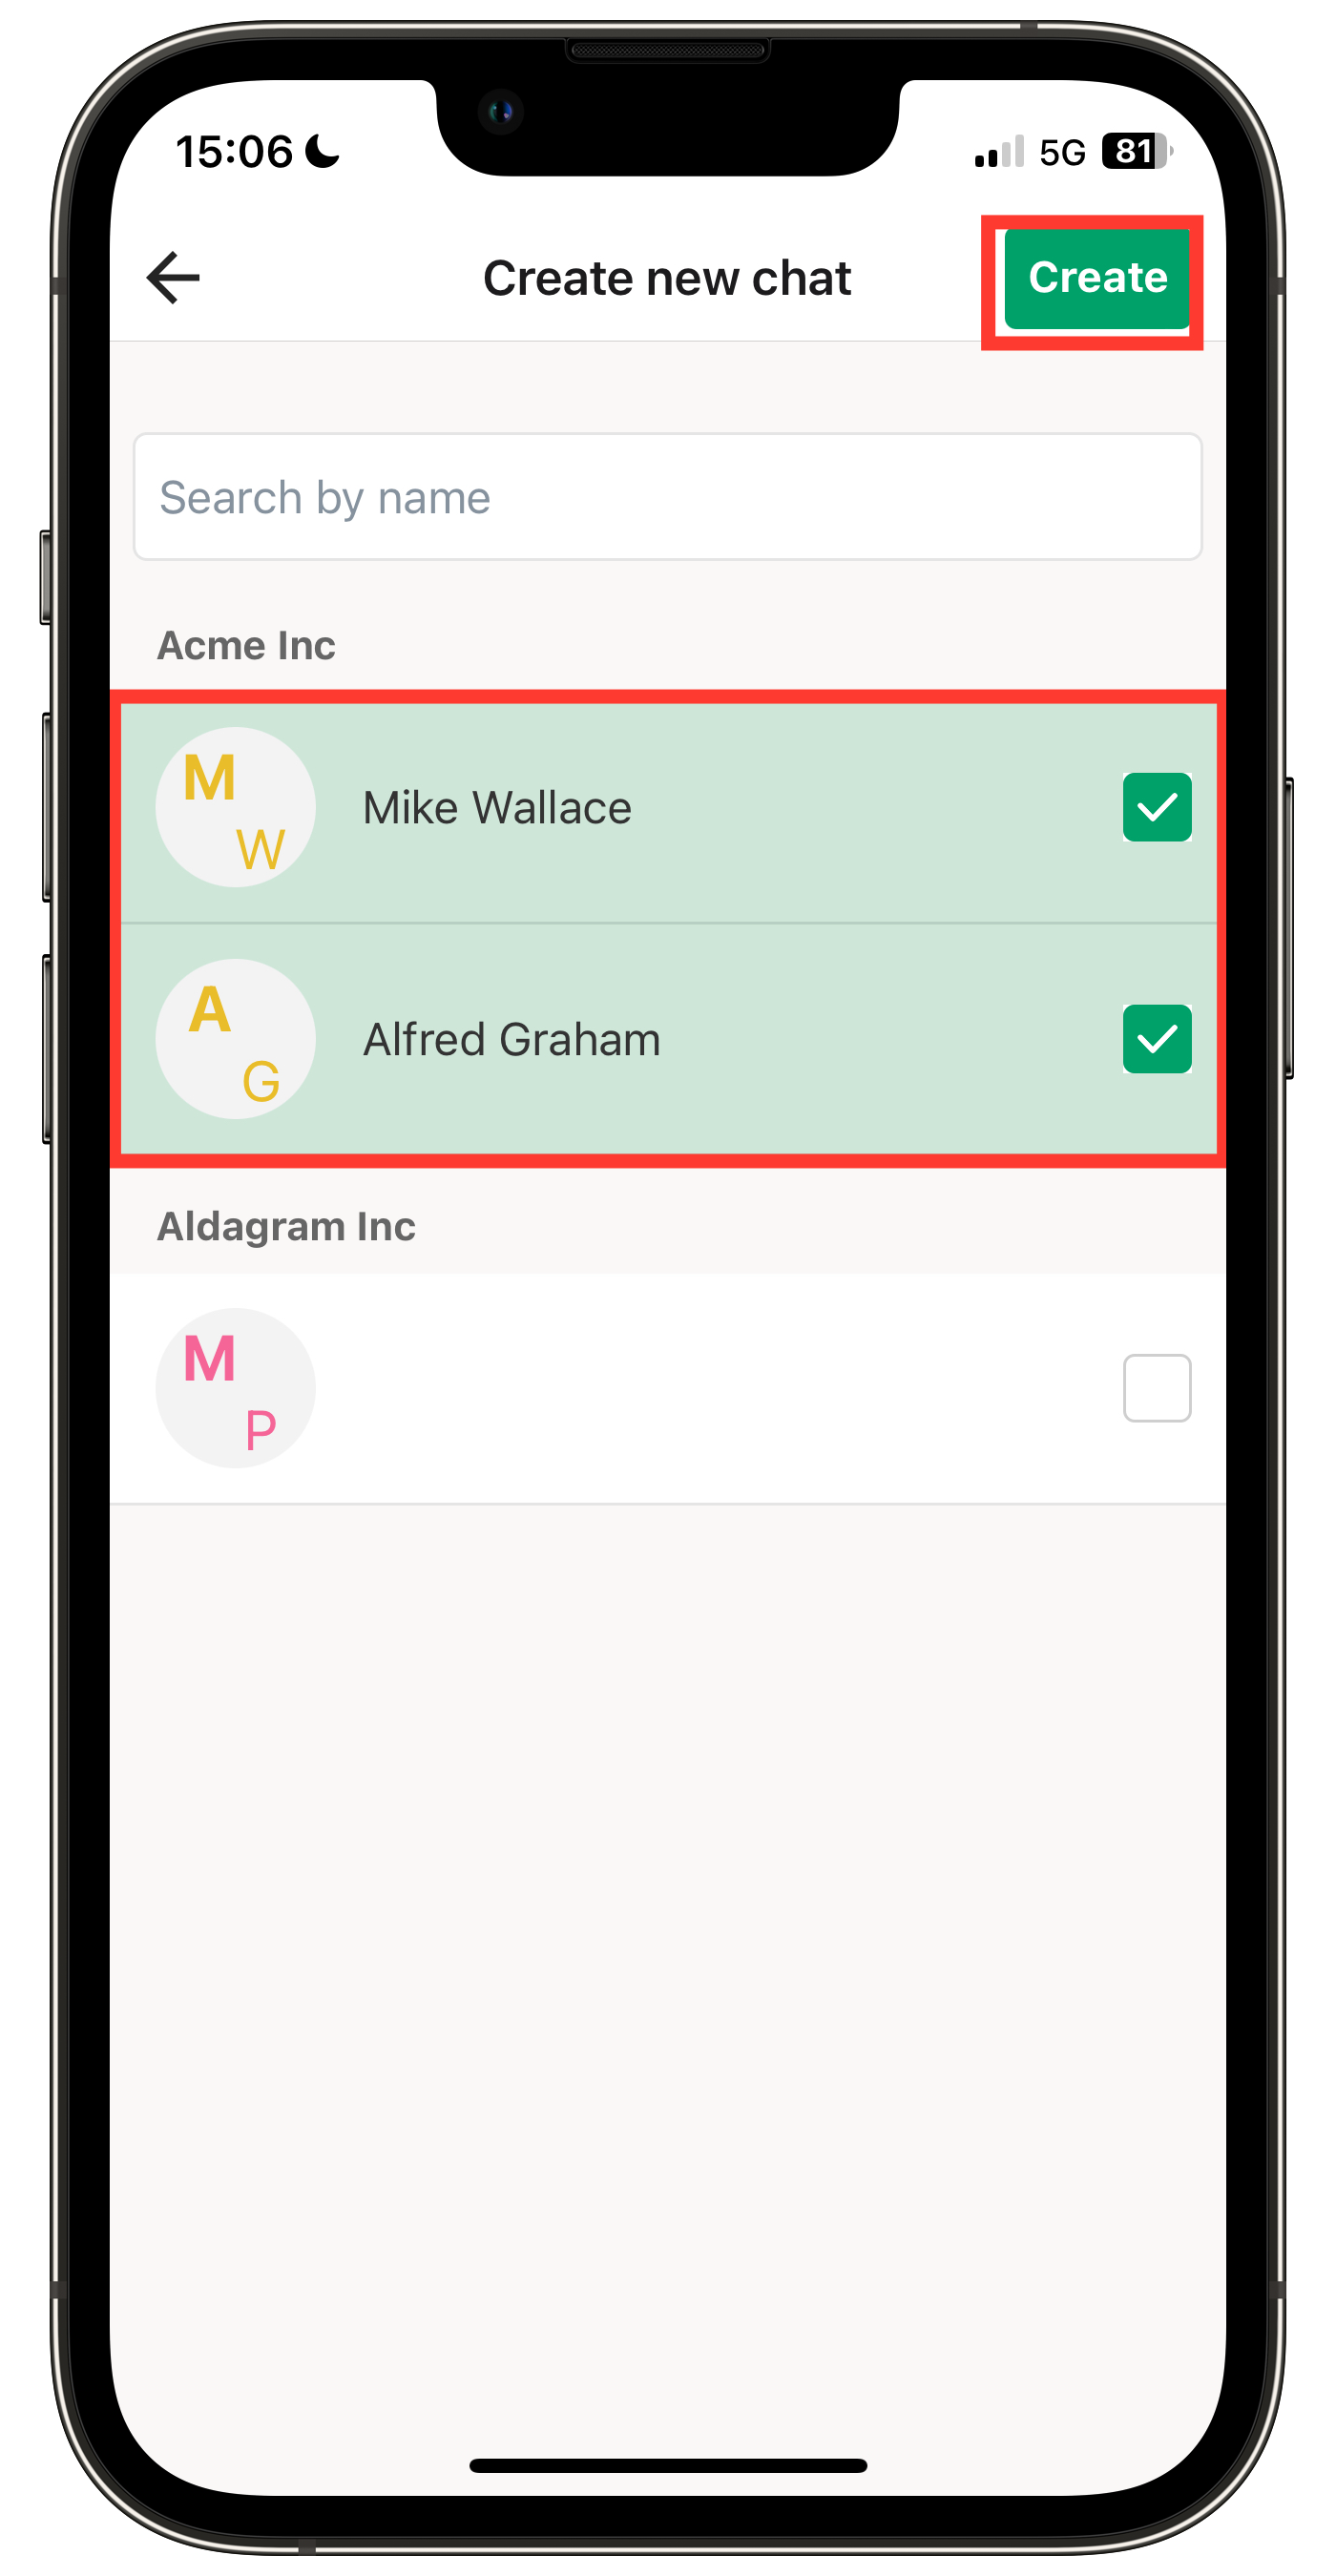
2. Select the members, then tap "Create."
Note: The displayed members include both your company members and members from external companies.
Using the computer
Opening a chat from a project
1. Click on the desired project in the "Projects" page to access the chat.
2. Click "Chat" in the top right corner.
For newly created projects, "Create Chat" will be displayed (see second image).
By clicking "Create Chat," a chat group for the corresponding project will be created.
Note: Members from external companies with general permissions do not have the authority to use the "Create Chat" feature.
3. The project’s chat group will be displayed.
Opening a chat from "Chat"
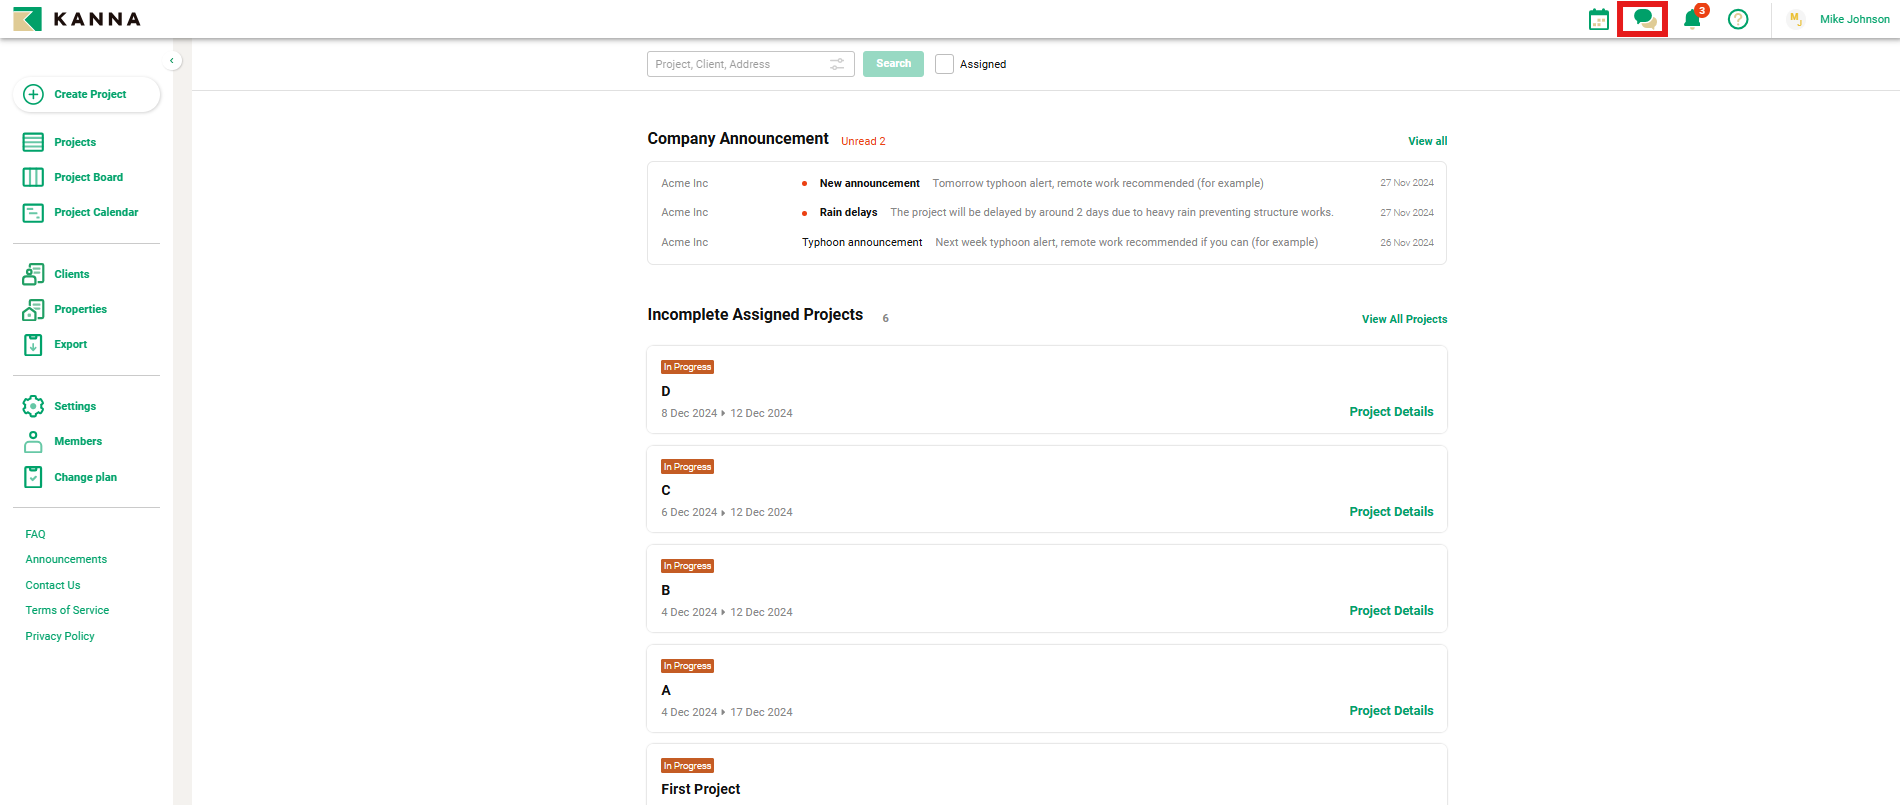
1. Click the "Chat" icon at the top of the home screen.
2. The screen will display with no chat group selected.

How to navigate the screen
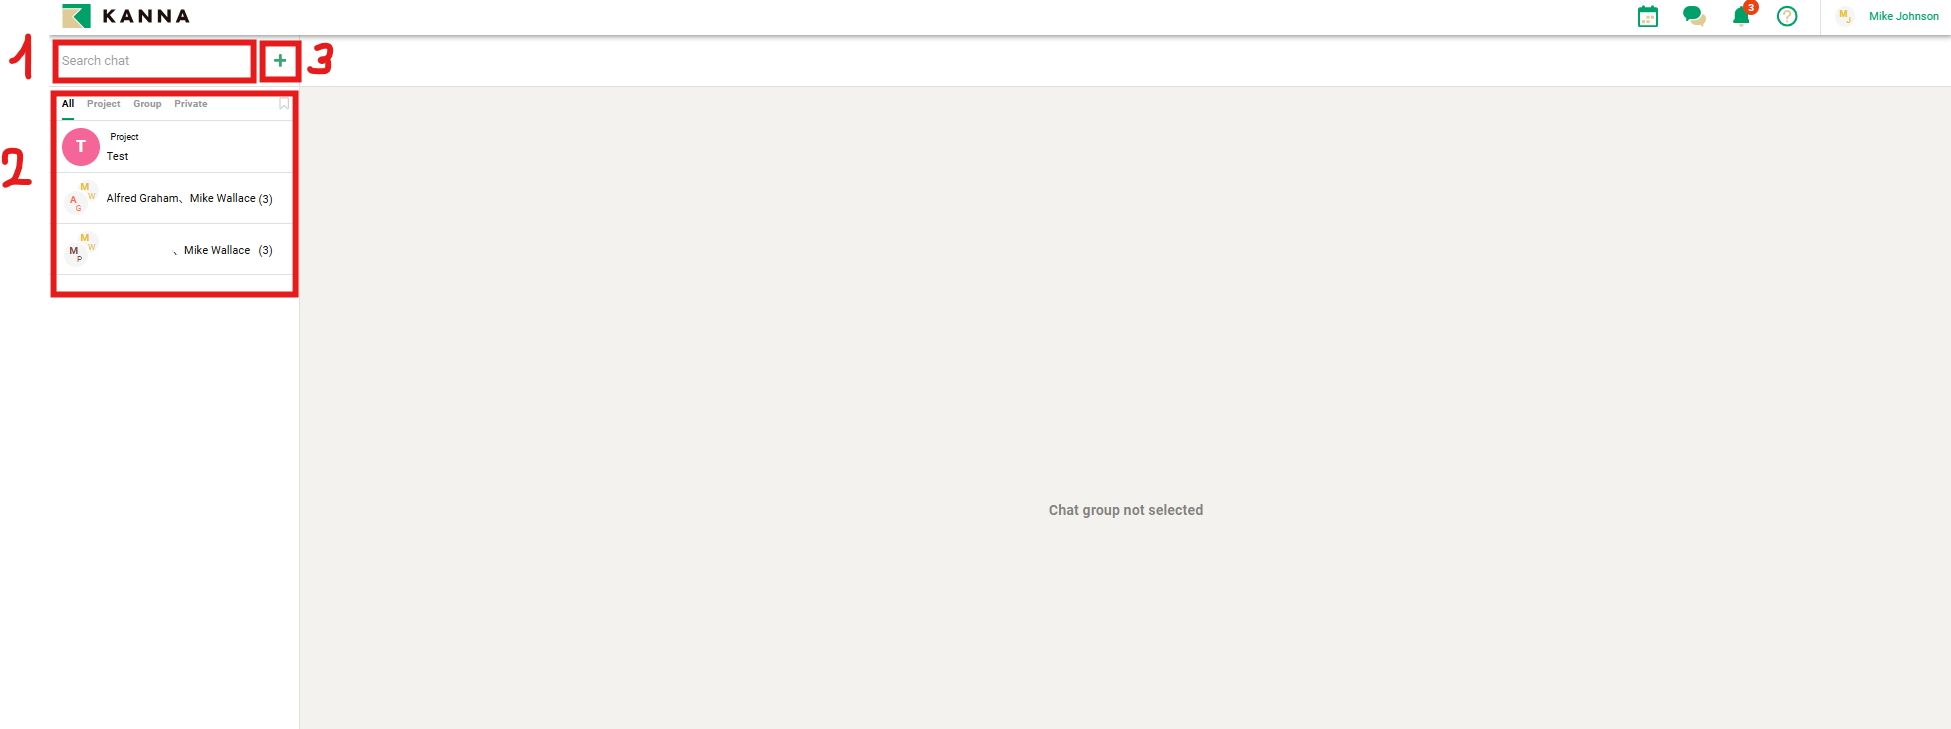
① Chat Search
You can search by entering the name of the chat you want to use.
② Chat List
Chats you are a member of are displayed in a list.
Chat groups are automatically organized into "All," "Project," "Group," and "Private".
③ Create Group
Click the "+" in the top left corner, select members, and tap "Create" to create a new group.
Note: The displayed members include both your company members and external company members.
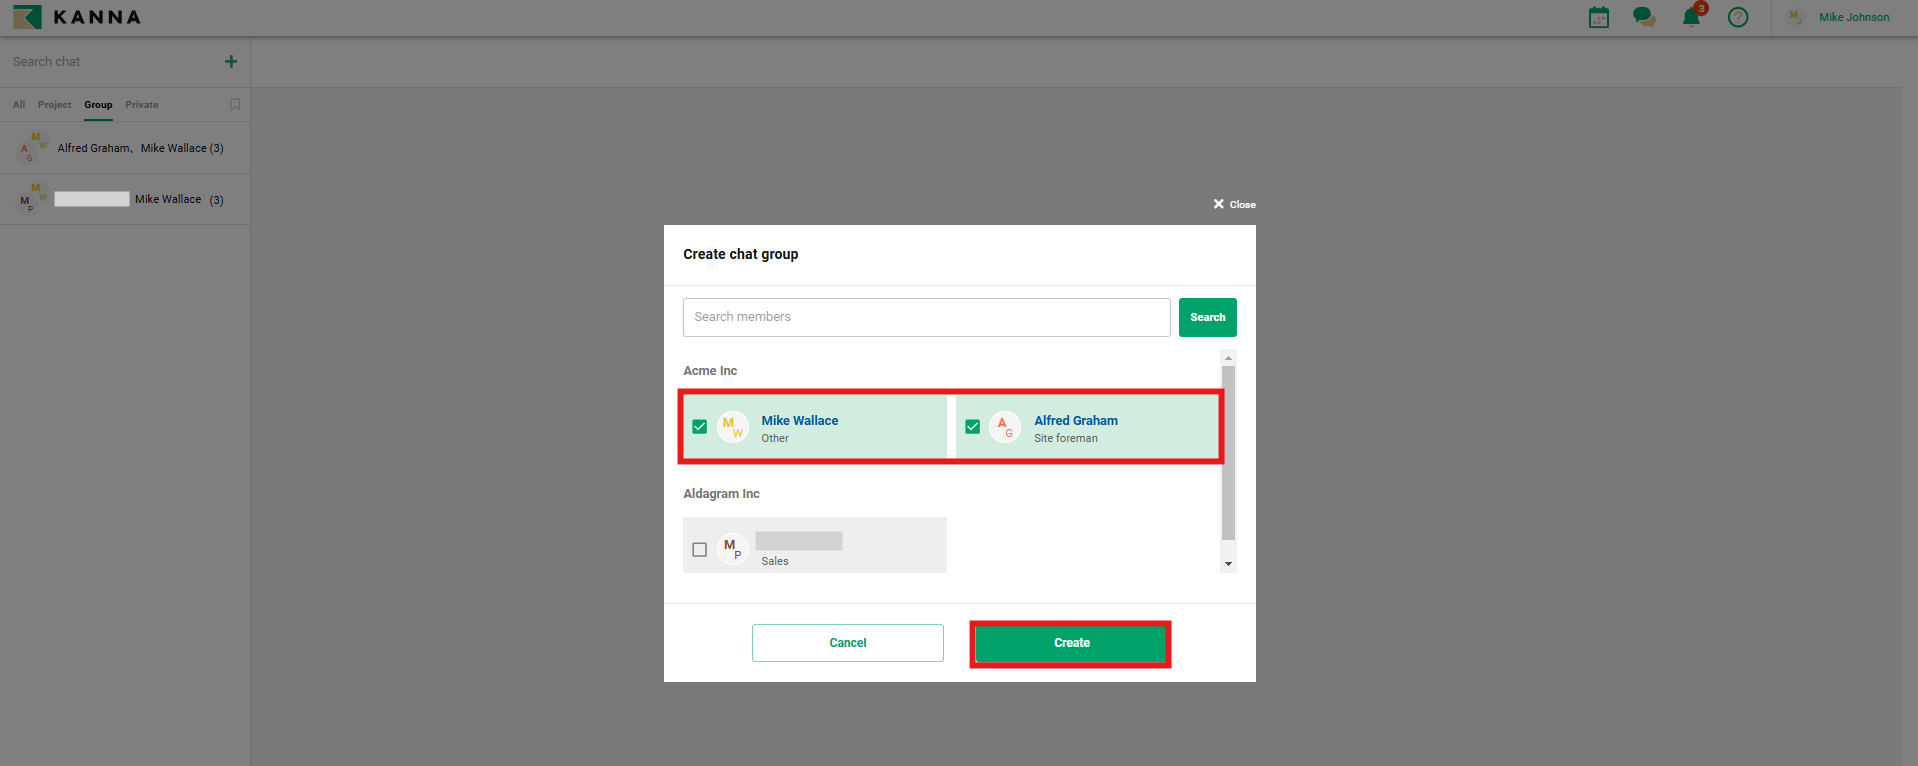
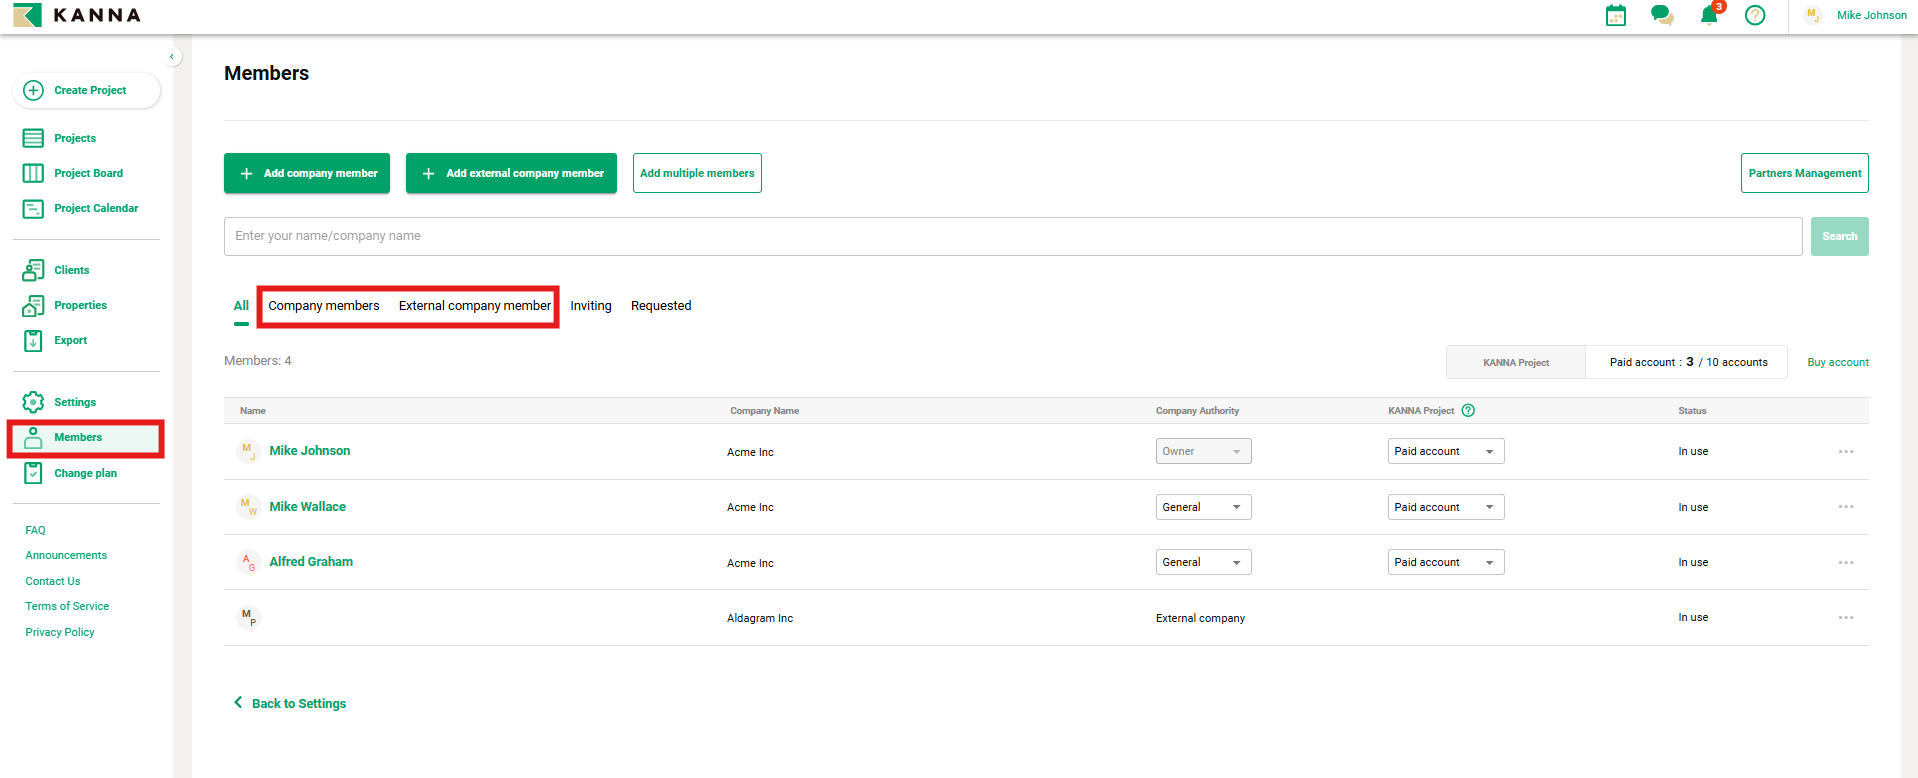
Members can be checked by going to "Members" → tapping "Company Members" or "External Company Members."